 Pin It
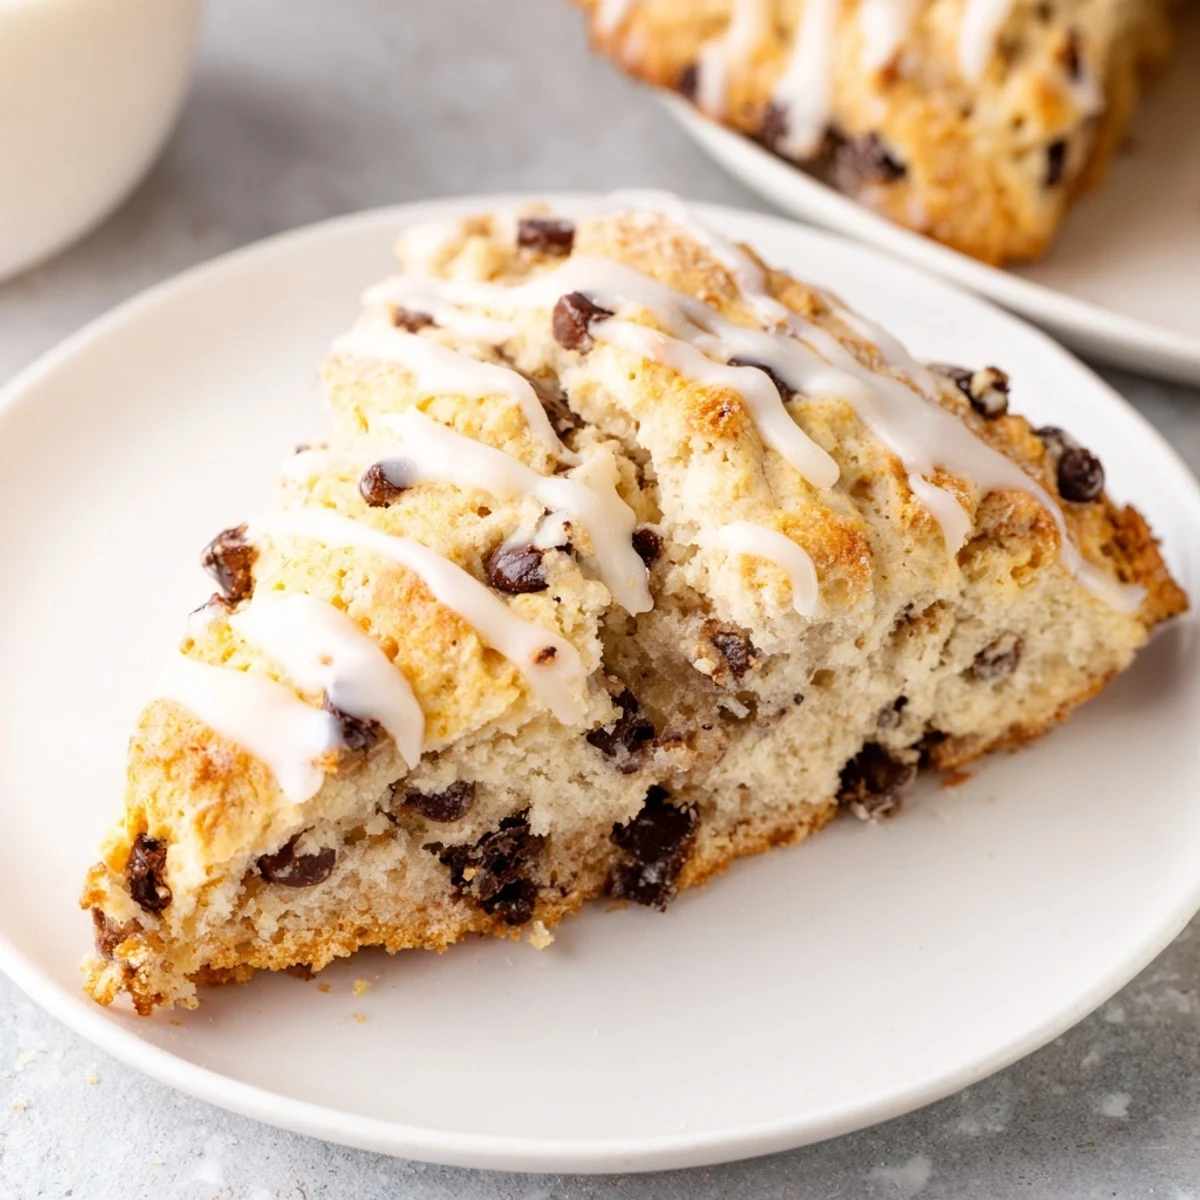
 These tender, buttery scones are loaded with semi-sweet chocolate chips and finished with a sweet vanilla glaze. The dough comes together quickly by cutting cold butter into flour and mixing with buttermilk. After baking until golden brown, the warm scones are topped with a simple icing for a delightful breakfast treat.
My sister showed up one Saturday morning with that specific kind of hunger—the one that needs butter and chocolate before noon. I'd been experimenting with scone recipes for weeks, and something about that moment made me want to get it right. The kitchen was still quiet, sunlight pooling across the counter, and I decided to bake. Three hours later, when she bit into one of these scones with its glossy vanilla glaze catching the light, she didn't say much—just closed her eyes and asked when I was making them again.
I made these for a book club meeting once, and someone asked if I'd bought them from the fancy bakery downtown. I didn't correct them immediately—just let that compliment sit for a second. Later, watching people break them in half to see those chocolate chips suspended inside, I realized these scones had that quiet elegance that makes people think you spent hours fussing, when really you just didn't overthink it.
Ingredients
- All-purpose flour (2 cups): Use it straight from the bag, no sifting needed, but if it's been sitting a while, give the bag a shake first.
- Granulated sugar (1/3 cup): This sweetness is gentle, letting the vanilla glaze do most of the sugaring work.
- Baking powder and baking soda (2 tsp and 1/2 tsp): These are your lift—they make scones rise into those tender, almost cloud-like layers.
- Salt (1/2 tsp): Sounds like nothing, but it's the backbone that keeps everything from tasting flat.
- Cold unsalted butter (1/2 cup, cubed): Cold is absolutely everything here; warm butter melts into the flour and you lose that flaky texture that makes scones special.
- Cold buttermilk (2/3 cup): It's acidic and tangy, which plays beautifully with the baking soda to create that tender crumb.
- Egg (1 large): Acts as your binder and gives the scone structure without heaviness.
- Pure vanilla extract (2 tsp): Use real vanilla; the fake stuff tastes tinny in something this simple.
- Semi-sweet chocolate chips (3/4 cup): These don't need to be premium, but they shouldn't be waxy either—check the ingredient list for cocoa butter.
- Powdered sugar (1 cup): For the glaze, this dissolves smooth and creates that perfect shine.
- Milk (2–3 tablespoons): The key to a glaze that drips but doesn't run, so add slowly.
Instructions
- Heat your oven and prep:
- Set the oven to 400°F and line your baking sheet with parchment paper—this takes two minutes but saves you from sticky cleanup later.
- Build your dry mix:
- Whisk together flour, sugar, baking powder, baking soda, and salt in a large bowl. This distributes the leavening evenly so every bite has that same gentle rise.
- Cut in the butter:
- Add your cold, cubed butter to the dry ingredients and work it in with a pastry cutter or your fingertips until everything looks like coarse breadcrumbs with some pea-sized bits of butter still visible. This is the texture that creates flakiness, so don't overthink it into a paste.
- Combine wet ingredients:
- In a separate bowl, whisk together the buttermilk, egg, and vanilla extract until it's just mixed. This doesn't need to be perfect.
- Bring it together gently:
- Pour the wet mixture into the dry ingredients, add the chocolate chips, and stir just until the dough comes together—loose and a little shaggy is exactly right. Overmixing toughens scones, which is the opposite of what you want.
- Shape your dough:
- Turn the dough onto a lightly floured surface and pat it into a circle about 1 inch thick and 8 inches across. Your hands will feel the resistance, and that's fine.
- Cut into wedges:
- Using a sharp knife, cut the circle into 8 wedges like you're slicing a pizza. If your knife sticks, dip it in flour between cuts.
- Arrange and bake:
- Place each wedge on the parchment paper with a bit of space between them and slide into the oven for 16 to 18 minutes, until the tops are golden and smell like butter and chocolate.
- Make your glaze:
- While the scones cool slightly, whisk together powdered sugar, 2 tablespoons of milk, and vanilla extract until smooth. If it's too thick, add milk a teaspoon at a time until it reaches the consistency of honey—it should drip off a spoon but not be runny.
- Glaze and serve:
- Drizzle the glaze over the warm scones while they're still slightly warm so it sets in a pretty, glossy layer.
 Pin It
 There's a moment, right when the oven door opens, when the smell of warm chocolate and vanilla hits you first. I baked these for a friend who was having a rough week, and she came to my kitchen, took one bite, and just sat at the table without saying anything for a minute. That's when I understood these aren't just breakfast—they're small, edible kindnesses.
The Secret to Flaky Texture
Every element of this recipe works toward one goal: creating steam pockets inside the dough so your scone rises tender and flakes apart easily. The cold butter, the minimal mixing, the quick bake at high heat—they're all part of that story. When you pull them out of the oven and the bottoms sound hollow, that's not luck, that's physics working in your favor.
Why the Glaze Matters
A scone is lovely on its own, but the vanilla glaze transforms it into something you'd order at a café. It's not too sweet, just enough to catch the light and add that soft sweetness that makes people smile. I've made these without the glaze, and they're good, but with it, they become the thing people remember.
Making Them Your Own
This recipe is sturdy enough to adapt without falling apart. Orange zest stirred in with the dry ingredients brings brightness, or try swapping half the chocolate chips for dried cranberries and adding a hint of cinnamon. Mini chocolate chips change the texture entirely—more speckles, less melting. The foundation stays the same, so you can play.
- Fresh scones are best eaten within a few hours, but they keep in an airtight container for up to two days and taste fine warmed briefly in the oven.
- You can prepare the dough the night before, cover it, and bake it fresh the next morning—just add a minute or two to the baking time since it'll be cold straight from the fridge.
- If chocolate chips aren't your thing, these work beautifully plain or studded with anything from nuts to berries.
 Pin It
 Scones remind me why baking matters: it's one of the few things that turns a regular morning into something gentle and intentional. These ones, with their chocolate hiding inside and that sweet vanilla glaze catching the light, are the kind worth making when you want to feel like you're taking care of someone—even if that someone is just you.
Recipe FAQs
- → Can I use regular milk instead of buttermilk?
-
Yes, you can substitute regular milk by adding a tablespoon of vinegar or lemon juice to let it sit for a few minutes before using.
- → Why did my scones turn out hard?
-
Overmixing the dough or overbaking can result in tough scones. Handle the dough minimally and bake just until golden brown.
- → Can I freeze the scone dough?
-
Absolutely. Cut the dough into wedges and freeze them on a baking sheet before transferring to a bag. Bake from frozen, adding a few extra minutes.
- → How should I store these scones?
-
Store cooled scones in an airtight container at room temperature for up to 2 days to maintain freshness.
- → Can I use salted butter?
-
You can use salted butter, but it is recommended to reduce or omit the added salt in the dry ingredients to prevent them from being too salty.