 Pin It
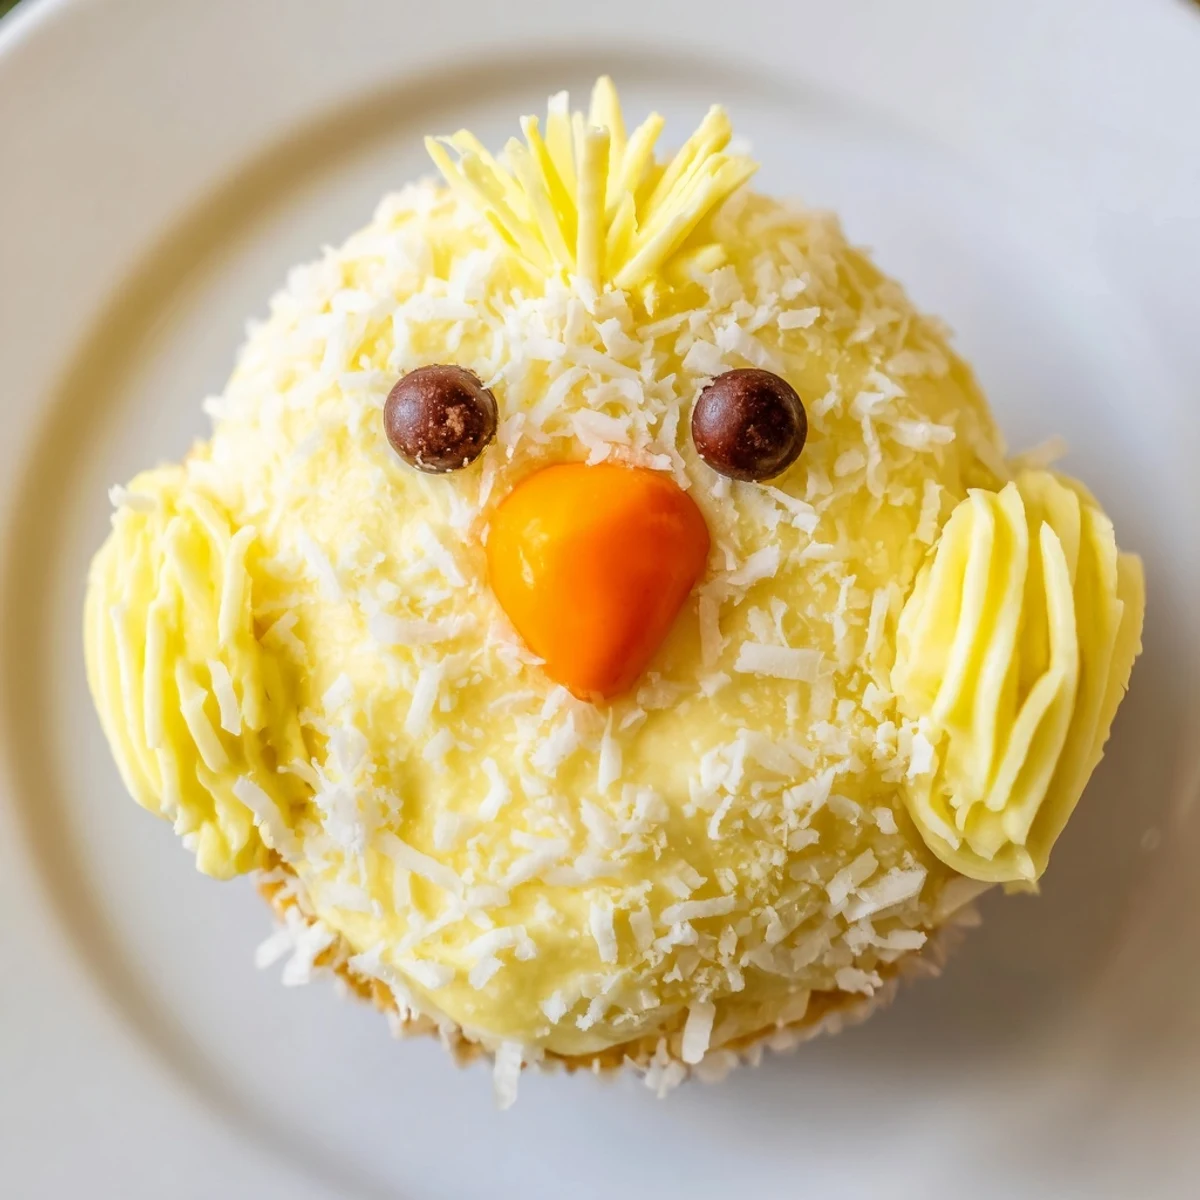
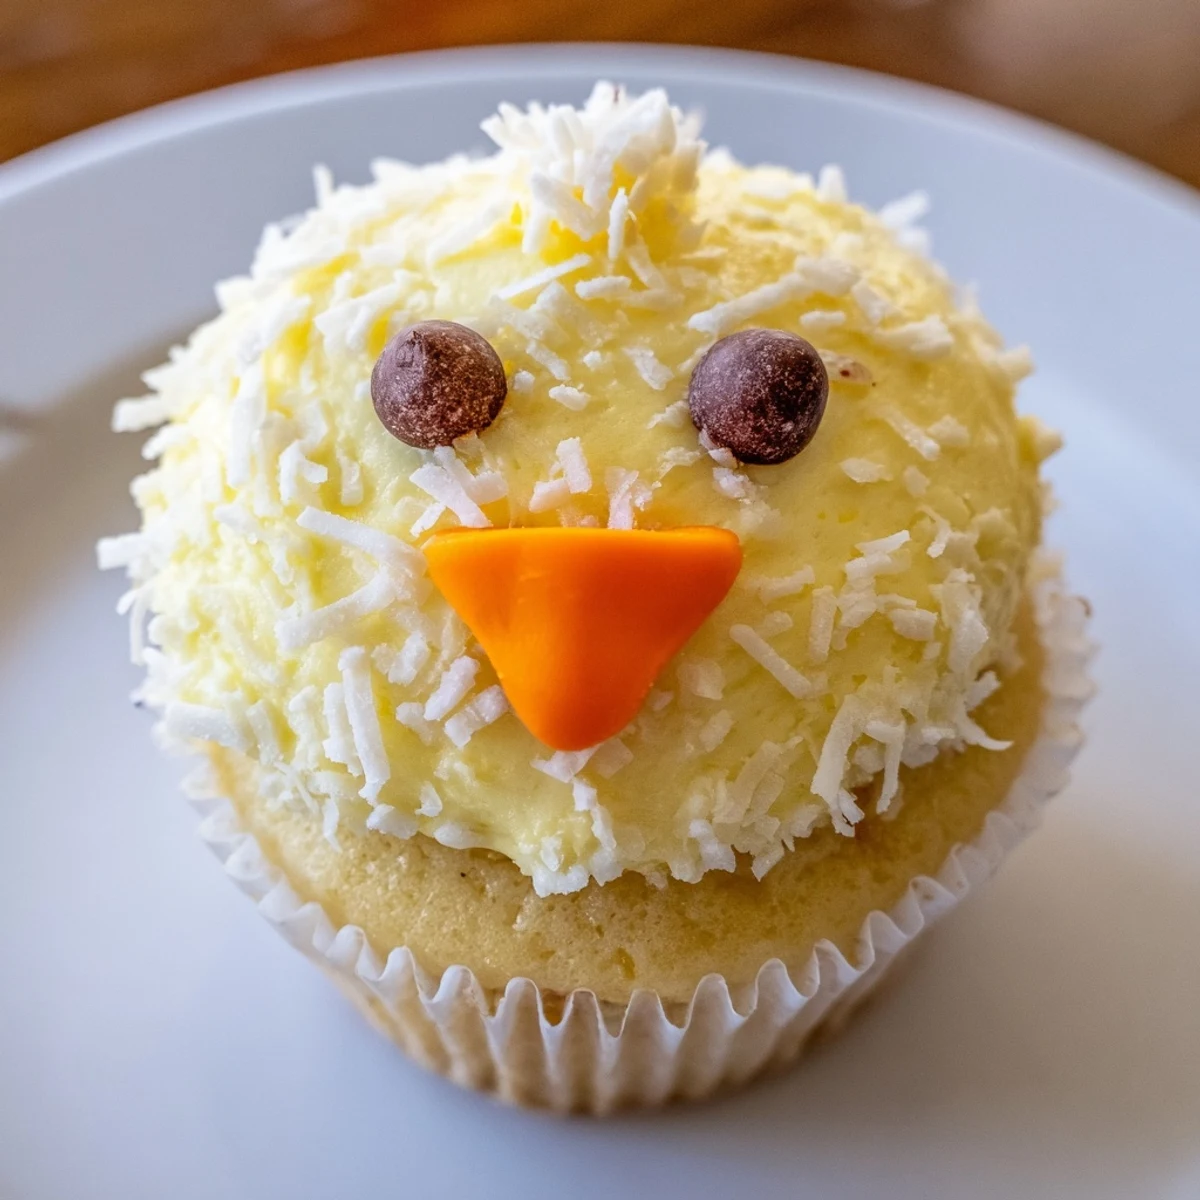
 These charming Easter chick cupcakes bring festive cheer to any spring gathering. The base is a moist vanilla cupcake, topped with vibrant yellow buttercream frosting that mimics fluffy chick feathers. Mini chocolate chips create expressive eyes while orange candies form tiny beaks, giving each dessert an adorable personality.
Preparation takes just 45 minutes from start to finish, making these treats accessible for bakers of any skill level. The optional shredded coconut adds realistic texture to the chick appearance, though sanding sugar offers a delightful alternative crunch. Children especially love helping with the decorating process.
Store finished cupcakes in an airtight container for up to two days, though their whimsical appearance typically makes them disappear much faster. The recipe yields 12 servings, perfect for classroom parties, family dinners, or community events.
Last spring my daughter spotted a bakery window full of fluffy yellow chick cupcakes and immediately demanded we recreate them at home. What started as an afternoon craft project turned into the most requested Easter treat in our household. The way these little faces look up at you from the plate is absolutely impossible to resist.
I made three dozen of these for my nephews birthday party last April and watched grown adults fight over the chick with the crooked beak. Something about turning dessert into tiny creatures brings out the child in everyone.
Ingredients
- all-purpose flour: The foundation for tender cupcakes that hold their shape under all that frosting
- baking powder and baking soda: Together they give the cupcakes just enough lift without being cakey or dry
- unsalted butter: Room temperature butter creates the perfect texture for both batter and frosting
- granulated sugar: Sweetens the cupcakes while helping them bake up golden and tender
- eggs: Essential for structure and richness, bring them to room temperature for better incorporation
- vanilla extract: Use pure vanilla for the best flavor in both the cupcakes and buttercream
- whole milk: Adds moisture and helps create a tender crumb
- powdered sugar: Creates a smooth buttercream that holds its shape for decorating
- yellow gel food coloring: Gel coloring gives you vibrant yellow without thinning the frosting
- mini chocolate chips: Perfectly sized eyes that stay in place without sliding off
- orange candy-coated chocolates: The beaks that give each chick its personality
- shredded coconut: Optional but adds the most convincing feathery texture
Instructions
- Get your oven ready:
- Preheat to 350°F and line your muffin tin with liners
- Whisk the dry ingredients:
- Combine flour, baking powder, baking soda, and salt in a medium bowl
- Cream the butter and sugar:
- Beat until the mixture turns pale and fluffy, about 3 minutes
- Add the eggs:
- Beat in eggs one at a time, then mix in the vanilla until fully incorporated
- Combine the batter:
- Alternate adding dry ingredients and milk, mixing just until everything comes together
- Bake the cupcakes:
- Divide batter evenly among liners and bake for 18 to 20 minutes until a toothpick comes out clean
- Make the buttercream:
- Beat butter until creamy, then gradually add powdered sugar alternating with milk
- Add color and flavor:
- Mix in vanilla and yellow gel food coloring until you reach a bright cheerful yellow
- Transform them into chicks:
- Frost generously, optionally dip in coconut, then add chocolate chip eyes and orange candy beaks
 Pin It
 My neighbor asked for the recipe after seeing the photo I posted, then made them for her church potluck. Now she gets requests every year for those chick cupcakes from the little old ladies who pretend they are only trying them for their grandchildren.
Making The Perfect Chick Face
After making dozens of these cupcakes I have learned that placement makes all the difference. Position the chocolate chip eyes slightly higher than you think and angle them inward toward each other for an innocent expression. The orange candy beak works best centered between the eyes but tilted slightly downward for a curious look. Use a damp fingertip to adjust the pieces if they slip during placement.
Frosting Like A Pro
A piping bag with a grass tip creates those convincing feathery textures that make people ask how you did it. If you do not have one, simply use a small offset spatula to create swirling motions that resemble fluff. The coconut trick is worth trying even if you are not usually a coconut person because the visual payoff is enormous.
Make Ahead And Storage
You can bake the cupcakes up to two days in advance and store them in an airtight container at room temperature. The buttercream can also be made ahead and kept refrigerated then brought to room temperature before piping. Decorated cupcakes are best served within 24 hours for the freshest appearance and texture.
- Undecorated cupcakes freeze beautifully for up to a month
- Transport them in a single layer to prevent smushed chick faces
- Keep decorated cupcakes away from direct sunlight or the frosting may soften
 Pin It
 Watch how quickly these disappear from your Easter dessert table.
Recipe FAQs
- → Can I make these cupcakes ahead of time?
-
Bake the vanilla cupcakes up to two days in advance and store unfrosted in an airtight container. Frost and decorate the day you plan to serve them for the freshest appearance and texture.
- → What can I use instead of orange candy beaks?
-
Orange sprinkles, small pieces of orange fondant, or even tiny carrot cake decorations work wonderfully as beaks. Get creative with whatever orange confections you have available.
- → Do I need a piping bag for the frosting?
-
While a piping bag with a grass tip creates the fluffiest chick appearance, a simple butter knife or small offset spatula works fine for spreading the frosting. The coconut or sugar topping adds texture regardless of application method.
- → Can these be made gluten-free?
-
Substitute the all-purpose flour with a reliable gluten-free flour blend in a 1:1 ratio. Ensure your baking powder and other ingredients are certified gluten-free as well.
- → How should I transport these decorated cupcakes?
-
Use a cupcake carrier or place each treat in a individual cupcake box to prevent decorations from shifting. Keep them flat and cool during transport to maintain the chick faces intact.