 Pin It
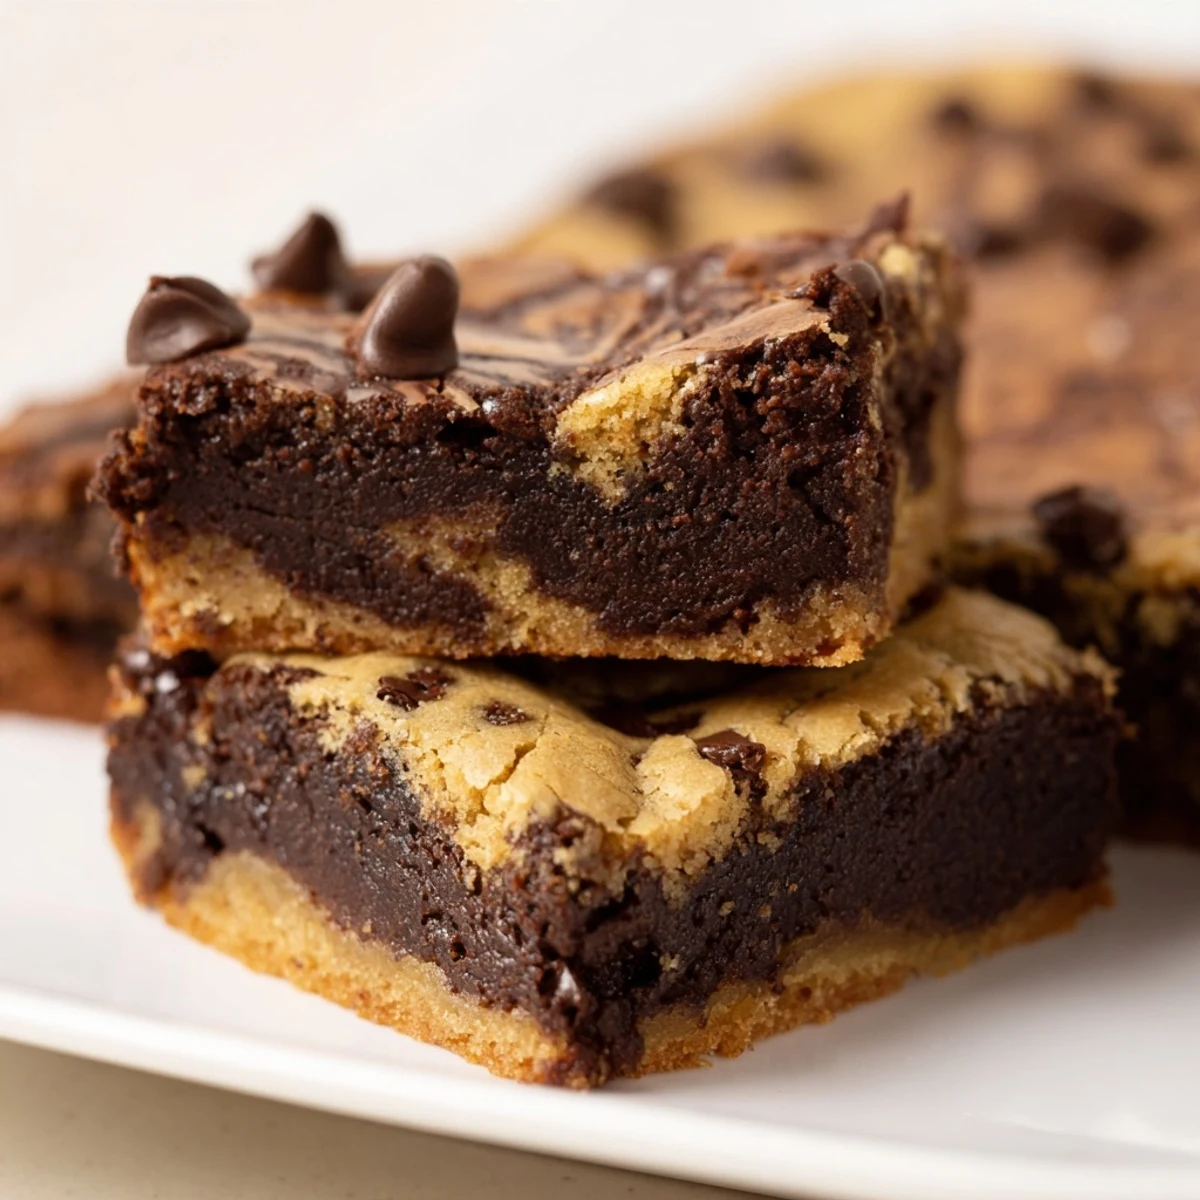
 These fudgy chewy browkies deliver the ultimate chocolate experience by layering rich dark chocolate brownie batter with sweet cookie dough topped with semi-sweet chips. The dual-texture dessert features a dense, fudgy foundation crowned by a tender, chewy cookie swirl that creates beautiful marbling as it bakes.
Ready in about one hour with simple preparation steps, these bars strike the perfect balance between intense chocolate depth and buttery cookie sweetness. The brownie layer provides that crave-worthy dense richness, while the cookie topping adds delightful chew and pockets of melted chocolate chips throughout.
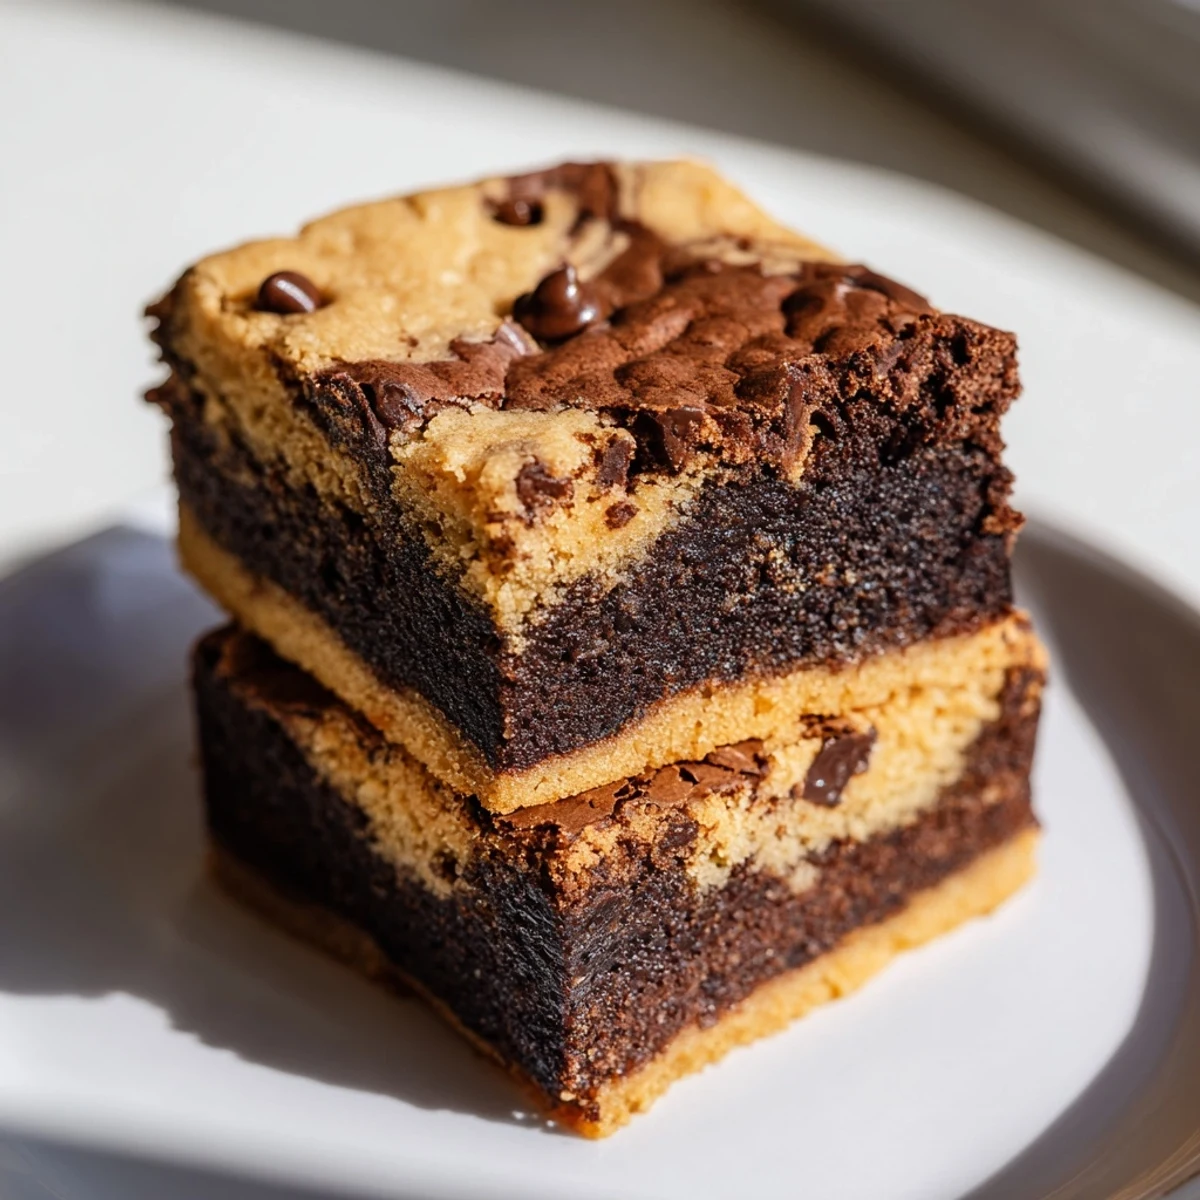
Bake until golden with moist crumbs for the ideal fudgy consistency, cool completely, then slice into 16 squares. For maximum fudginess, slightly underbake and let cool overnight before cutting. Serve plain or elevate with vanilla ice cream for an extra indulgent treat.
Last winter during a snow day, my kids and I stumbled onto the most glorious kitchen accident. We could not decide between brownies or chocolate chip cookies, so in a moment of baking chaos we layered both batters in the same pan. The result was so incredible that browkies have now replaced both recipes in our regular rotation.
I brought a batch to my book club last month and three people actually asked for the recipe before we even discussed the book. Something about that combination of textures makes people genuinely excited, like you have discovered a secret shortcut to dessert happiness.
Ingredients
- Unsalted butter: You need both melted and softened versions here, so do not swap them or the textures will not work properly
- Dark chocolate: Chopping it yourself helps it melt evenly, though quality chocolate chips work in a pinch
- Granulated sugar: This creates that crackly brownie top we all love
- Large eggs: Room temperature eggs incorporate better and prevent the chocolate from seizing when you add them
- Vanilla extract: Do not be shy with this in both layers
- All-purpose flour: Measure by weight if possible for consistent results
- Salt: A little enhances the chocolate flavor without making these taste salty
- Brown sugar: This is what gives the cookie layer its chew and caramel notes
- Egg yolk: Using just the yolk adds richness without making the cookie layer too cakey
- Baking soda: Just enough to lift the cookie layer slightly while keeping it dense
- Semi-sweet chocolate chips: These stay suspended in the cookie layer for pockets of melted chocolate
Instructions
- Prep your pan:
- Lining your pan with parchment paper is absolutely worth the extra minute. The overhang makes lifting these out so much easier.
- Melt the chocolate base:
- Take your time melting the butter and dark chocolate together slowly. Rushing this step can cause the chocolate to seize and turn grainy.
- Build the brownie layer:
- Whisk the sugar into the warm chocolate mixture before adding your eggs one at a time. This technique prevents the eggs from scrambling and ensures a silky smooth batter.
- Layer it up:
- Spread the brownie batter first, then drop spoonfuls of cookie dough across the top. Do not overthink the marbling part, just gently swirl them together with a spatula.
- Bake to perfection:
- Trust your nose and the toothpick test. The center should still have moist crumbs attached when these are done.
- Patience pays off:
- Let these cool completely before slicing. Warm browkies are delicious but they will not cut into clean squares.
 Pin It
 My husband now requests these for every birthday and office potluck. They have become our go-to dessert for bringing to people because they travel well and always impress.
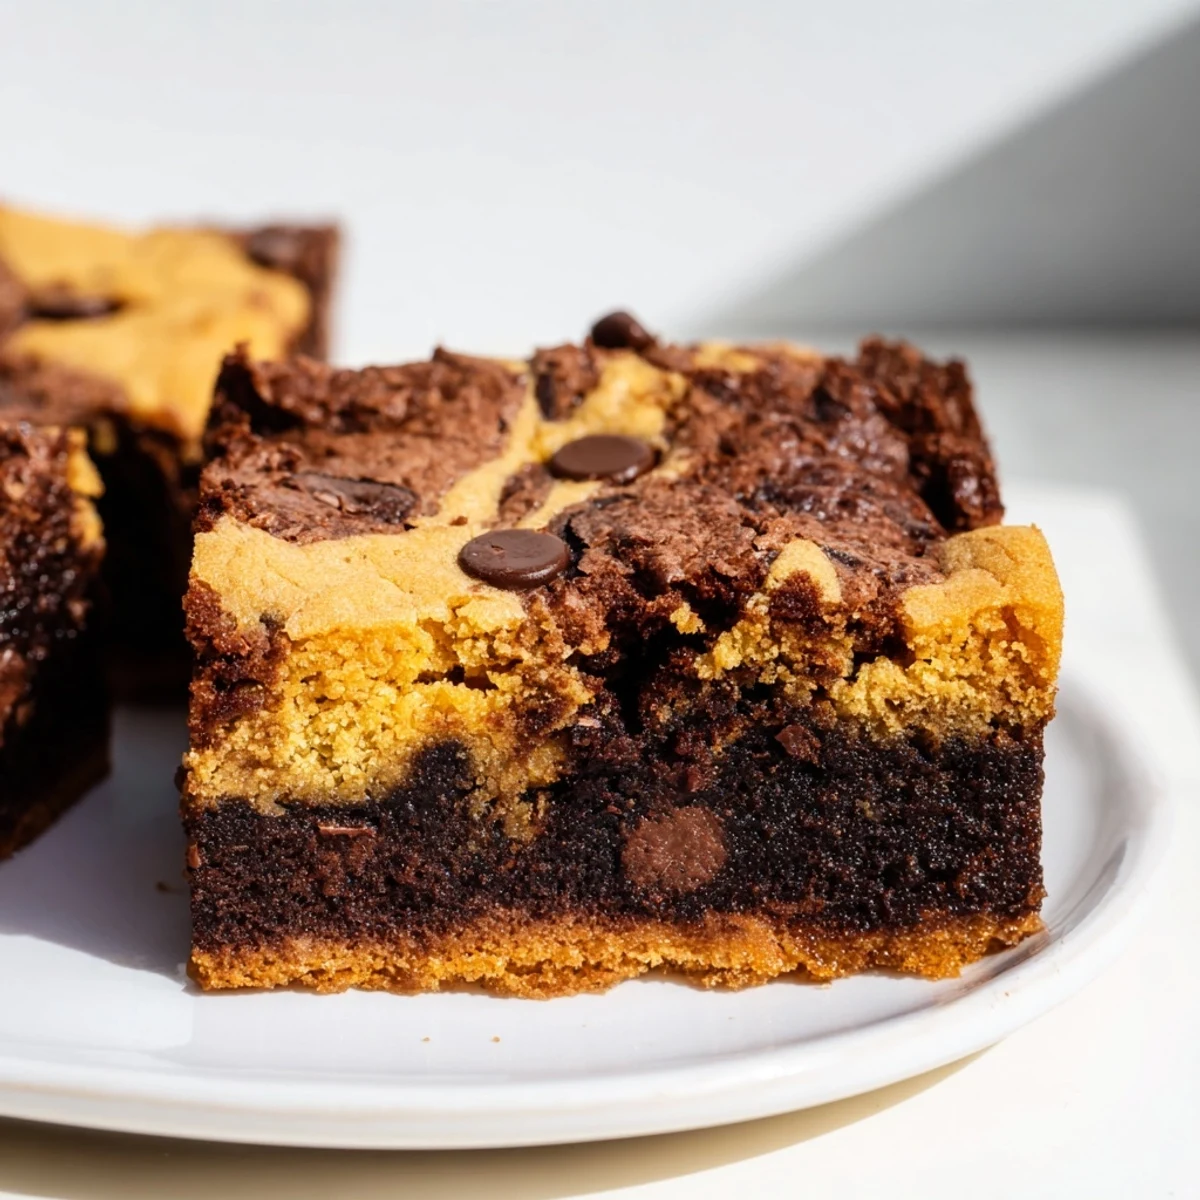
Getting The Perfect Marble
The most common question I get is how to achieve that beautiful swirled pattern. Drop cookie dough in small mounds across the brownie layer and use just three or four gentle figure-eight motions with your spatula. Over-swirling blends the flavors too much and you lose that distinct browkie effect everyone loves.
Storage Secrets
These actually improve after sitting overnight wrapped tightly at room temperature. The flavors meld together and the texture becomes even more fudgy. They will keep for four days, though they have never lasted that long in my house.
Serving Suggestions
Warm a square in the microwave for fifteen seconds before serving with vanilla ice cream. The contrast between hot fudgy browkie and cold ice cream is absolute heaven.
- Try sprinkling flaky sea salt on top before baking for a sophisticated finish
- A glass of cold milk is the perfect accompaniment
- These freeze beautifully for up to three months if you wrap them individually
 Pin It
 Hope these bring as much joy to your kitchen as they have to mine.
Recipe FAQs
- → What are browkies?
-
Browkies are a hybrid dessert combining the rich, dense fudginess of brownies with the chewy texture of chocolate chip cookies. This version layers dark chocolate brownie batter beneath cookie dough swirled with semi-sweet chips, creating a marbled two-texture bar.
- → How do I know when browkies are done baking?
-
Insert a toothpick into the center - it should come out with moist crumbs rather than wet batter. The top should appear golden and set. For extra fudgy results, slightly underbake by 2-3 minutes. The bars continue cooking as they cool in the pan.
- → Can I make these ahead of time?
-
Absolutely. Browkies actually improve after sitting overnight as flavors deepen and texture becomes perfectly fudgy. Store in an airtight container at room temperature for up to 4 days, or freeze individually wrapped squares for up to 3 months.
- → Why do I need to cool completely before cutting?
-
Allowing browkies to cool completely in the pan sets both layers properly for clean slicing. Warm bars are too soft and will crumble. Cooling overnight yields the fudgiest texture and makes cutting through the dense layers much easier.
- → Can I customize the mix-ins?
-
Certainly. Add chopped walnuts or pecans to either layer for crunch. Substitute milk or white chocolate chips for semi-sweet. Swirl in peanut butter or caramel dollops before baking. The base browkie structure works beautifully with various flavor additions.
- → What pan size works best?
-
A 20 cm (8-inch) square pan creates the ideal thickness for both layers. Using a larger pan will yield thinner, crispier bars. A smaller pan results in underbaked centers. The specified size ensures proper cooking time and texture balance.