 Pin It
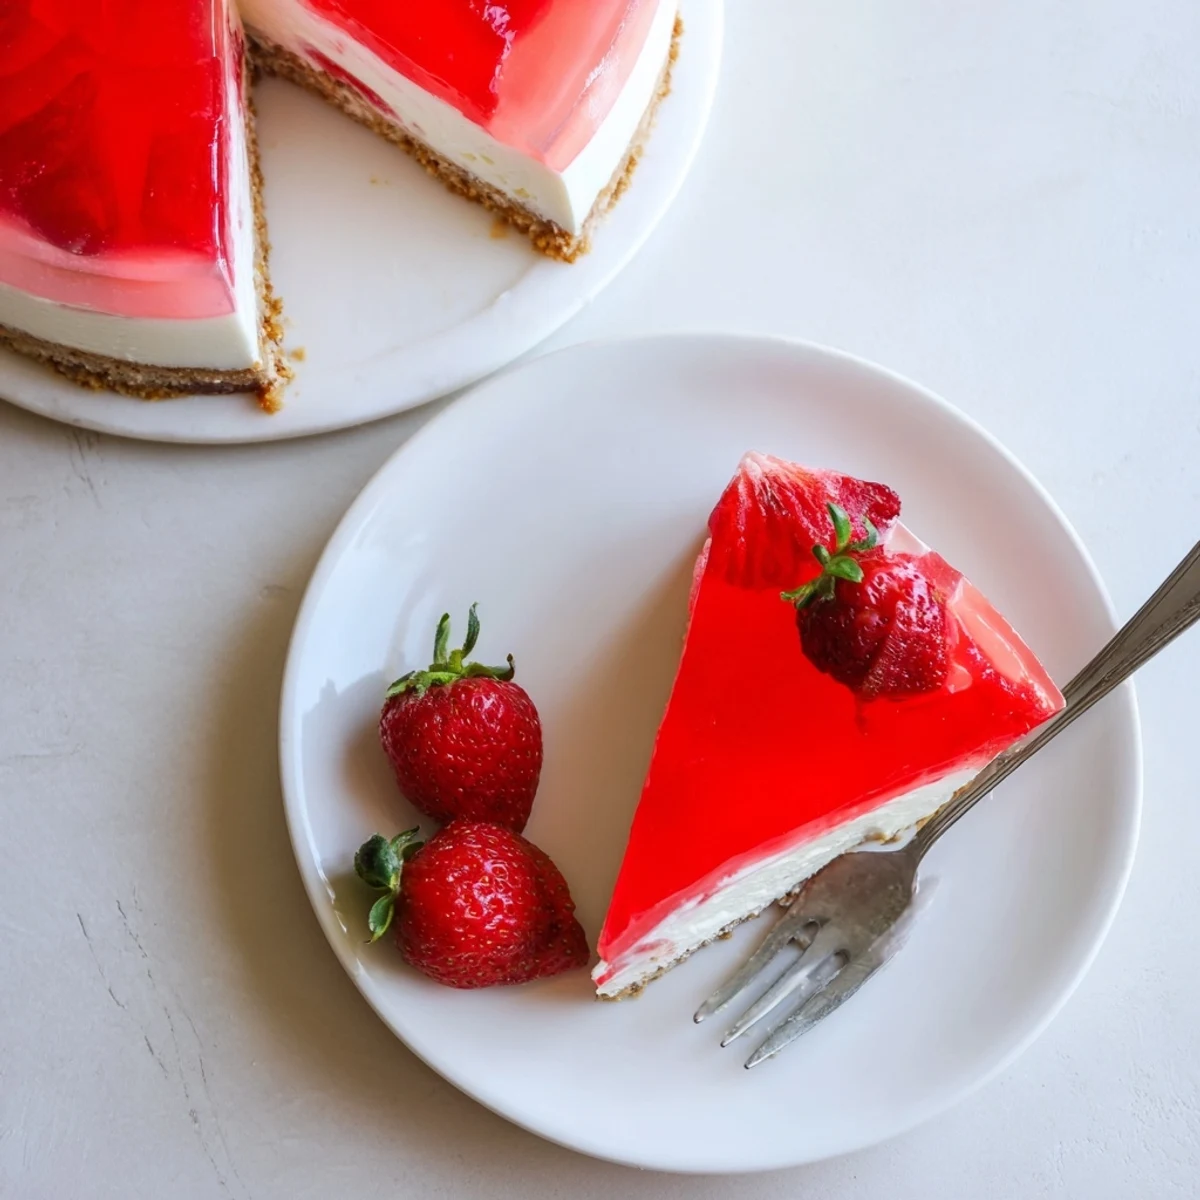
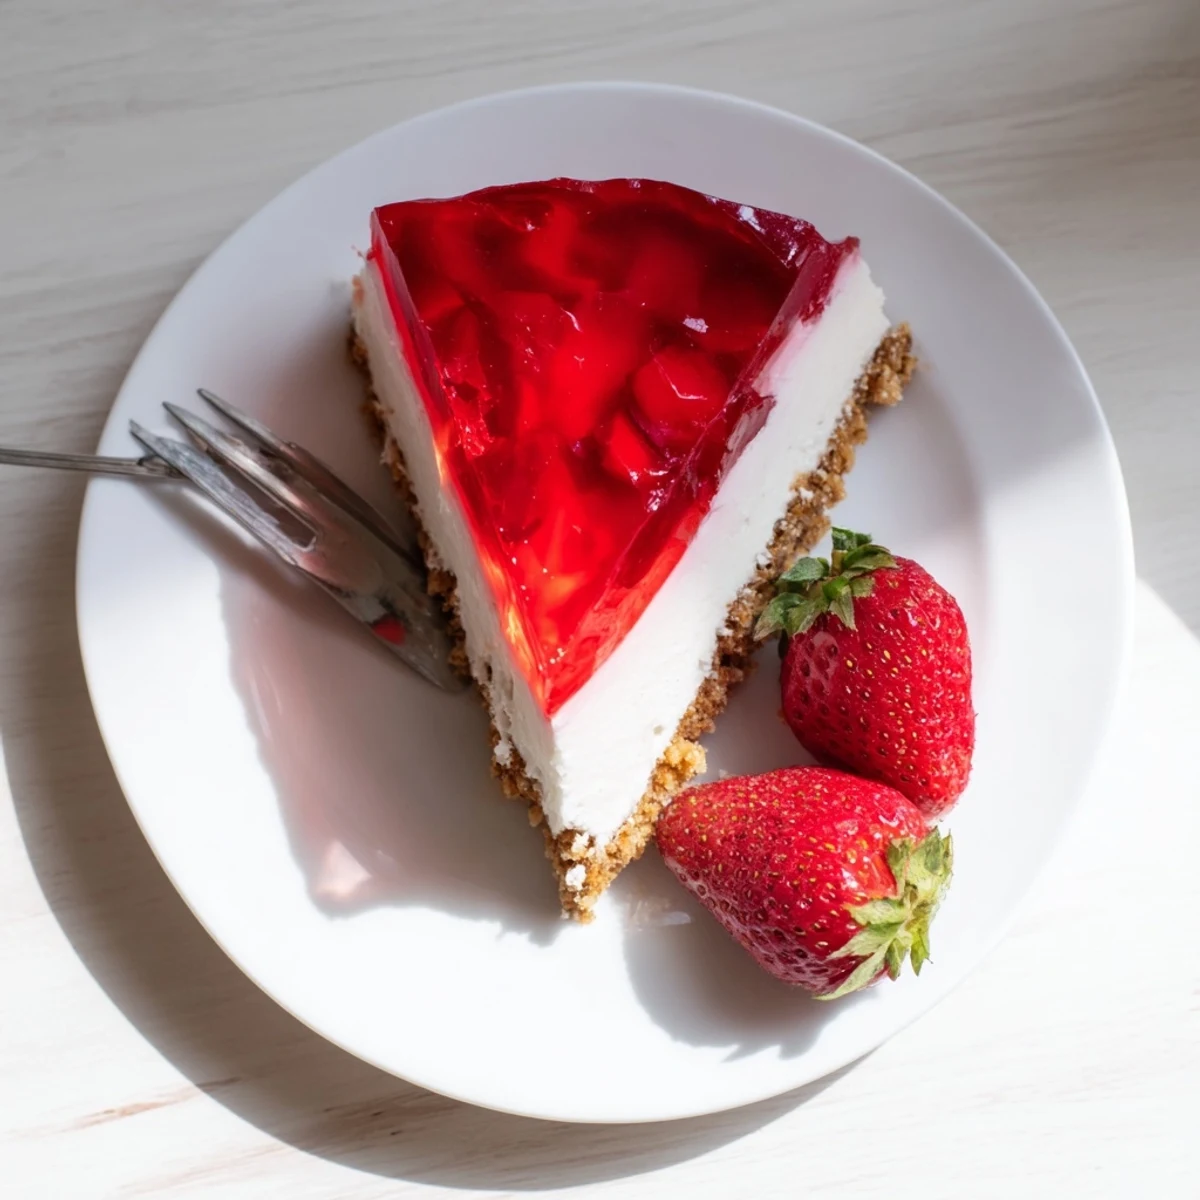
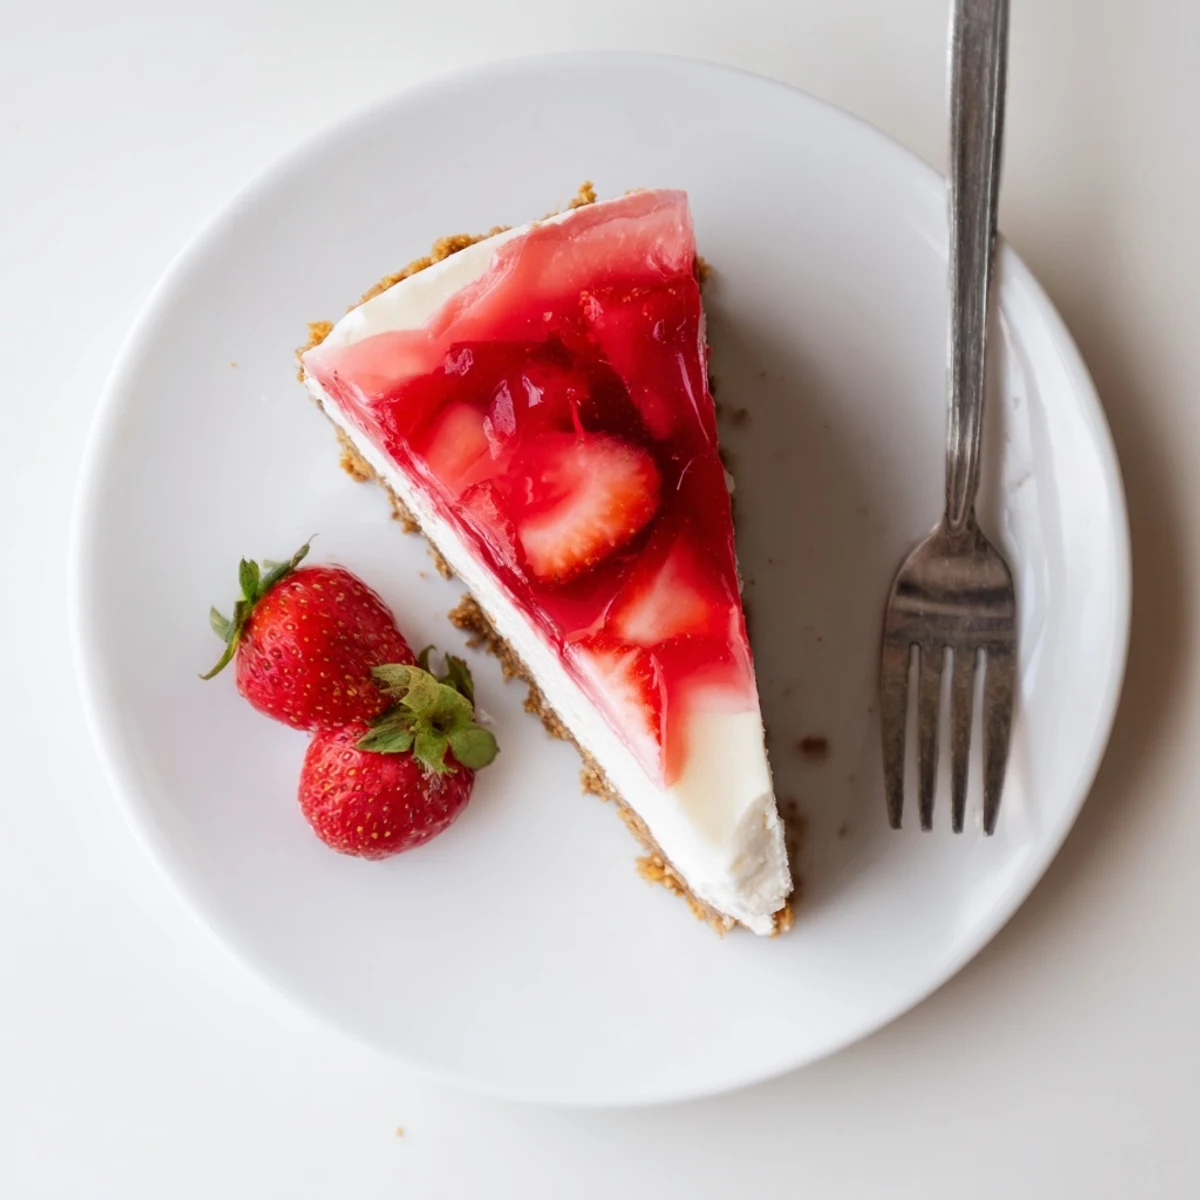
 This luscious no-bake dessert combines the creamy tang of Greek yogurt cheesecake with a fun, wobbly fruit jello topping. The buttery graham cracker crust provides the perfect crunchy base, while the filling achieves that ideal balance between rich cream cheese and lighter yogurt. Best of all, there's no oven required—just chill time in the refrigerator. The vibrant jello layer adds both visual appeal and fruity sweetness that complements the tangy filling beautifully. Customize with your favorite fruit flavors and fresh berry garnishes for a stunning dessert that's perfect for warm weather gatherings or anytime you want something refreshing yet indulgent.
The air conditioning had broken down during the hottest week of July, and the last thing anyone wanted was to turn on the oven. My neighbor Sarah had invited herself over for dessert, expecting something elaborate. That's when I remembered my grandmother's no-bake approach—simple, cool, and unexpectedly elegant.
Sarah took one bite and went quiet for a full ten seconds. Then she asked for the recipe, which is basically her highest form of compliment. We sat on my back steps with our plates, watching fireflies flicker in the garden, and somehow this wobbly layered dessert felt like the most elegant thing in the world.
Ingredients
- Graham cracker crumbs: The buttery foundation that holds everything together—pulse whole crackers in a food processor for the most even texture
- Unsalted butter: Melt it completely so every crumb gets coated and holds its shape when pressed
- Cream cheese: Leave it out on the counter for at least an hour so it blends into something silky instead of grainy
- Greek yogurt: Full fat or 2% works best here—nonfat turns the filling into something oddly rubbery and sad
- Powdered gelatin: This little packet is what transforms soft cheese into sliceable cheesecake without any baking
- Lemon juice: Just enough acid to make all the dairy sing without actually tasting like lemon
- Fruit-flavored gelatin: Strawberry or raspberry gives you that gorgeous jewel tone on top
- Fresh berries: The garnish that makes people think you spent way more time than you actually did
Instructions
- Prep your pan:
- Line a 9-inch springform pan with parchment paper on the bottom—this little step saves you so much heartache later when you're trying to get that first clean slice out.
- Build the crust:
- Mix those graham crumbs with melted butter and sugar until they look like wet sand, then press them firmly into your pan with the bottom of a measuring cup. Pop it in the fridge to firm up while you work on the filling.
- Bloom the gelatin:
- Sprinkle the powdered gelatin over cold water and let it sit for about 5 minutes until it looks like tiny translucent diamonds absorbing the liquid.
- Make the filling:
- Beat that softened cream cheese until it's genuinely smooth—no lumps allowed—then fold in the Greek yogurt, powdered sugar, vanilla, and lemon juice until everything's one creamy family.
- Activate the gelatin:
- Microwave your bloomed gelatin for just 15 seconds until it's completely dissolved, let it cool slightly so it doesn't seize when it hits the cheese, then whisk it into your filling mixture.
- Set the first layer:
- Pour that gorgeous creamy filling onto your chilled crust, smooth the top like you mean it, and let the refrigerator work its magic for at least 2 hours until it's firm to the touch.
- Prepare the jello:
- Dissolve the fruit gelatin in boiling water, stir in the cold water, and let it cool completely—warmer than room temp jello will melt your carefully set cheesecake layer.
- Add the topping:
- Gently pour that cooled jello over your set cheesecake like you're filling a precious reservoir, then return it to the fridge for another 2 hours until everything is firm and jiggly in the best way.
- Serve it up:
- Run a thin knife around the edge before unlocking that springform, garnish with fresh berries if you're feeling fancy, and slice while it's still chilled for the cleanest cuts.
 Pin It
 My mother tried to convince me that real cheesecake requires a water bath and three hours of careful oven monitoring. Then she tasted this version and admitted that sometimes convenience actually tastes better. Now she makes it for book club and pretends she spent all afternoon in the kitchen.
Getting the Layers Right
The most common mistake is pouring warm jello onto a room-temperature cheesecake layer, which creates that blurry marble effect where the layers bleed into each other. Patience isn't just a virtue here—it's the difference between a stunning dessert and something that looks like it went through the wash. Let each layer set completely before moving on.
Flavor Variations That Work
Lemon jello on top is my personal favorite—the tartness plays beautifully with the creamy filling. Raspberry or strawberry give you that classic diner cheesecake vibe, while orange creates this surprisingly sophisticated creamsicle situation. Whatever flavor you choose, match your fresh berries to the jello for those extra presentation points.
Make-Ahead Magic
This dessert actually improves after a full 24 hours in the fridge—the flavors have time to really get to know each other, and the texture settles into something even more luxurious than the first day.
- Make it up to two days before serving, just keep it covered so it doesn't absorb any fridge flavors
- Add fresh garnish right before serving or the berries will weep and make everything look sad
- Bring it to room temperature for about 10 minutes before slicing—too cold and the crust might crack
 Pin It
 There's something deeply satisfying about serving a dessert that looks like it came from a fancy bakery case but required absolutely no heat. The best recipes are sometimes the ones that work with you, not against you.
Recipe FAQs
- → Can I make this gluten-free?
-
Yes, simply use gluten-free graham crackers or gluten-free cookie crumbs for the crust. All other ingredients are naturally gluten-free.
- → How long does this cheesecake need to chill?
-
The cheesecake layer needs 2 hours to set, then the jello layer requires an additional 2 hours. For best results, make it the night before and chill overnight.
- → Can I use regular yogurt instead of Greek yogurt?
-
Greek yogurt is recommended for its thicker texture and higher protein content. Regular yogurt will make the filling softer and less creamy—strain it through cheesecloth first if substituting.
- → What jello flavors work best?
-
Strawberry, raspberry, lemon, and orange are excellent choices. Consider pairing the flavor with fresh fruit garnishes—strawberry jello with fresh berries, or lemon with citrus slices.
- → How should I store leftovers?
-
Keep refrigerated in an airtight container or cover the springform pan with plastic wrap. The jello layer may release some liquid over time, so it's best enjoyed within 3-4 days.
- → Can I make this vegetarian-friendly?
-
Traditional gelatin isn't vegetarian, but you can use agar-agar powder as a substitute for both the filling and jello layer. Follow package instructions for proper blooming and setting ratios.