Pin It
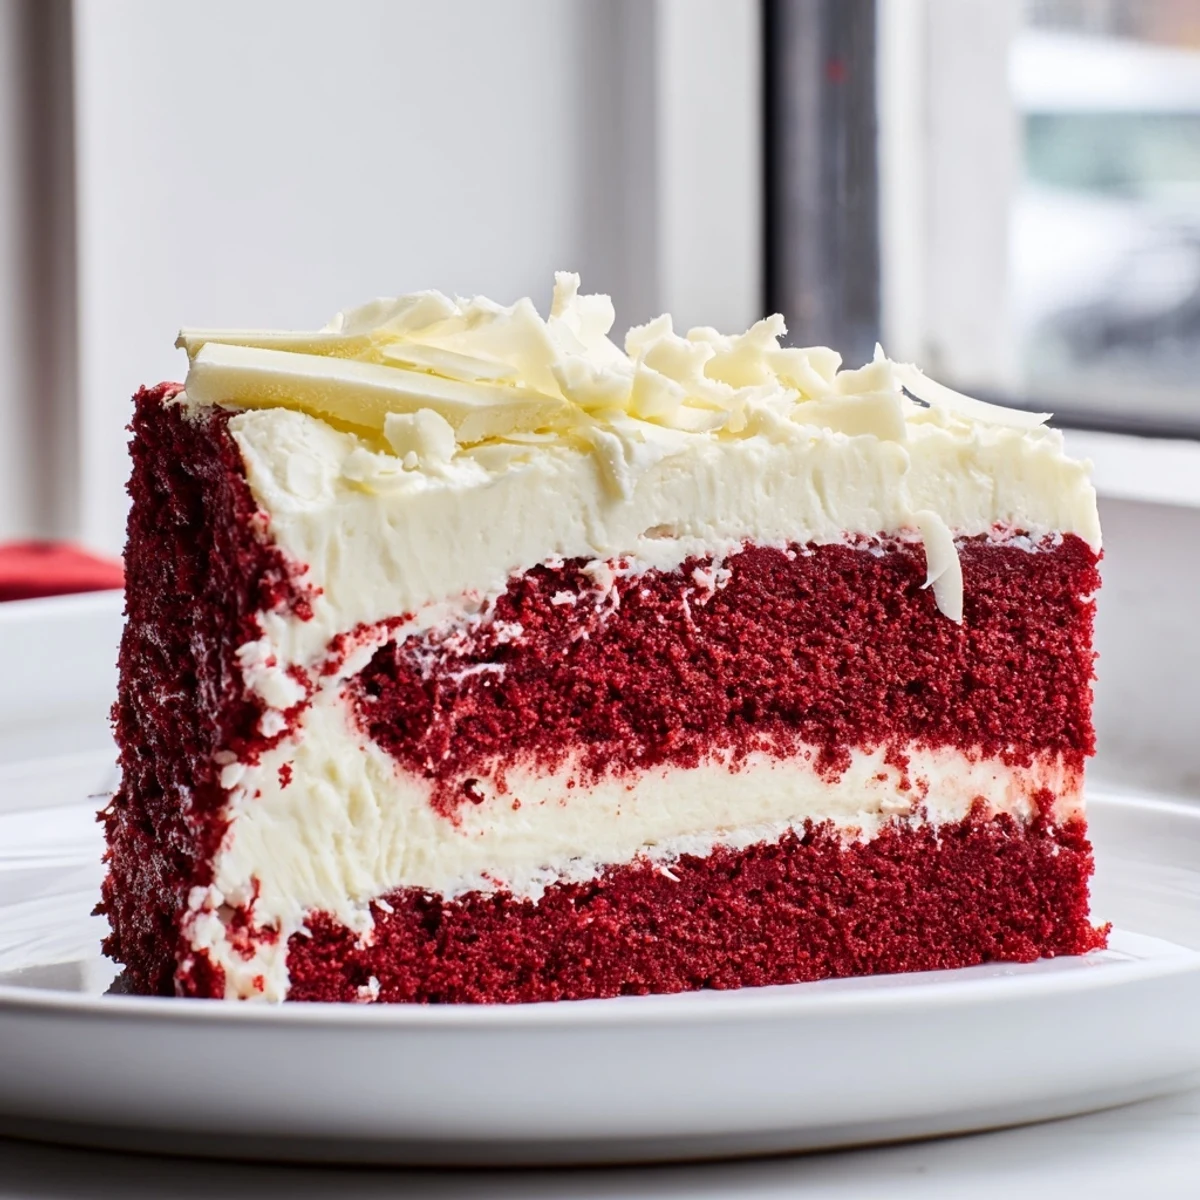
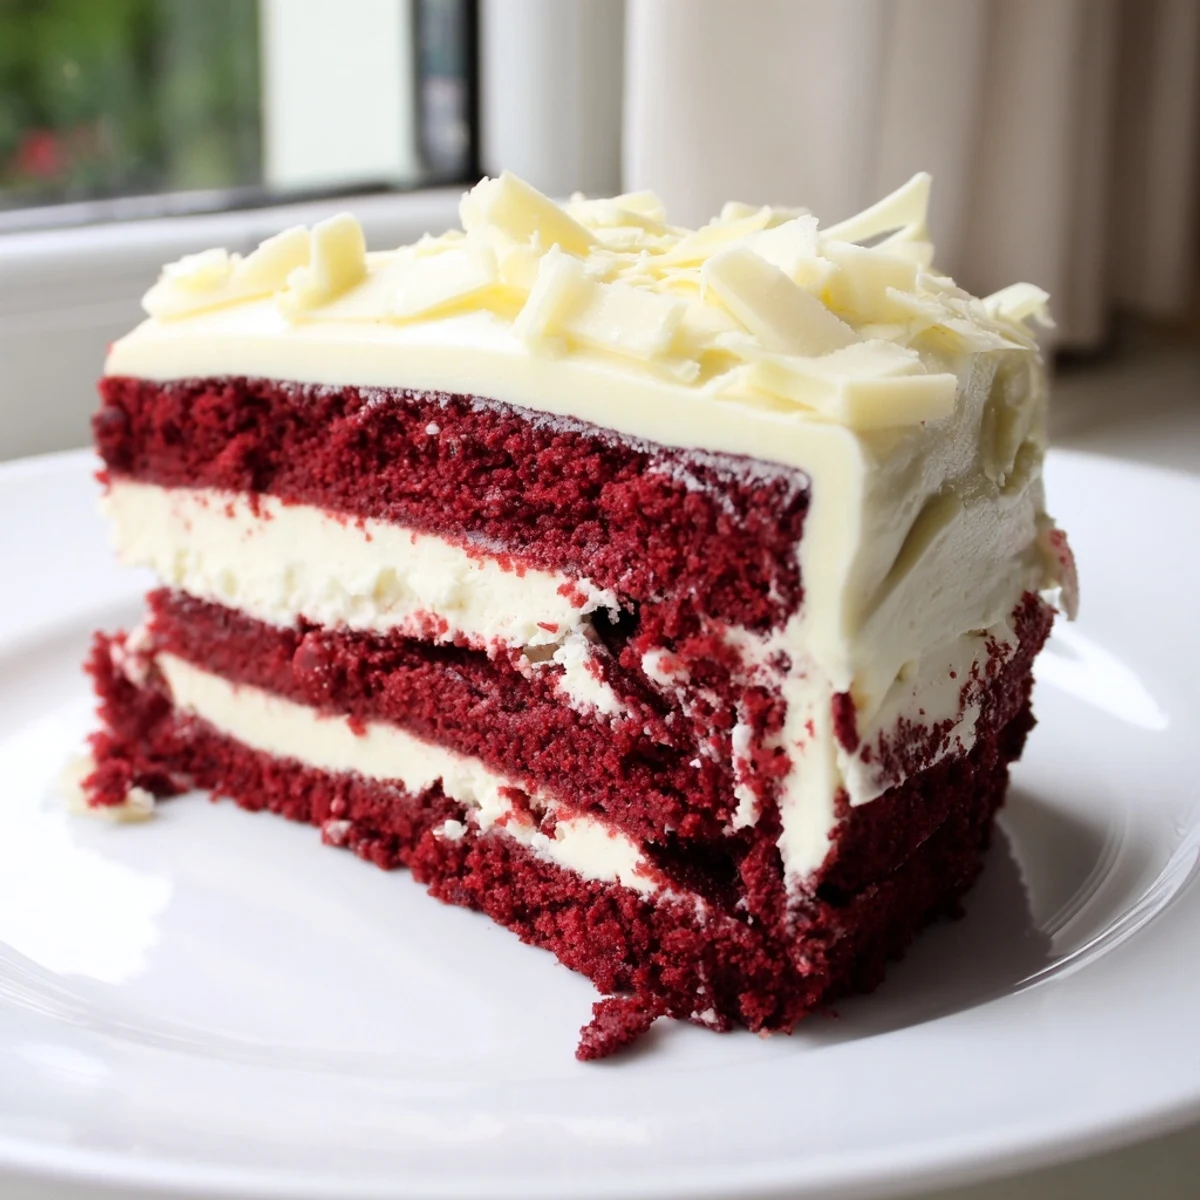
 This indulgent dessert combines a soft red velvet base with a smooth, creamy cheesecake layer. The preparation begins by baking a spiced red velvet cake batter partially, followed by pouring a rich cheesecake mixture over it. The two layers bake together creating a stunning dessert with contrasting textures and flavors. After baking, it’s chilled thoroughly and can be topped with optional cream cheese frosting for extra richness. Ideal for gatherings, this dessert delivers a luxurious balance of sweetness, tang, and subtle cocoa notes.
The first time I attempted this red velvet cheesecake, my kitchen looked like a crime scene. Red food coloring everywhere. But that first bite, with the velvety cake merging into the creamy cheesecake, made every splatter worth it.
I made this for my sisters birthday last year. She took one photo, posted it, and her phone blew up with requests for the recipe. The way the layers peek through when you slice it is pure dessert magic.
Ingredients
- All-purpose flour: The structure builder for both cake layers, use room temperature flour for better incorporation
- Granulated sugar: Sweetens both layers while helping create that tender crumb texture we love
- Vegetable oil: Keeps the red velvet layer incredibly moist, unlike butter which can firm up when chilled
- Buttermilk: The secret acid that activates the baking soda and adds subtle tang, dont skip it
- Cream cheese: Use full fat and let it soften completely, brick style works better than tub spreads
- Sour cream: Adds another layer of tang and helps keep the cheesecake from becoming too dense
- Eggs: Room temperature eggs blend more smoothly, preventing overmixing which can lead to cracks
- Red food coloring: Gel coloring gives a deeper hue with less liquid, but liquid works fine too
- Cocoa powder: Just enough to give depth without overpowering the delicate red velvet flavor
- Vanilla extract: Pure vanilla makes a noticeable difference in both layers
Instructions
- Prepare your oven and pan:
- Preheat to 325°F and generously grease a 9 inch springform pan, lining the bottom with parchment paper for easy release later.
- Mix the dry cake ingredients:
- Whisk together the flour, cocoa powder, baking soda, and salt in a medium bowl until well combined.
- Combine wet cake ingredients:
- Beat the sugar, oil, and egg until light and fluffy, then mix in buttermilk, vinegar, vanilla, and that vibrant red food coloring.
- Complete the cake batter:
- Gradually fold the dry ingredients into the wet mixture, stirring just until combined, then pour into your prepared pan and spread evenly.
- Par bake the cake layer:
- Bake for 15 minutes, knowing the center will seem slightly underdone which is perfect since it will finish cooking with the cheesecake on top.
- Make the cheesecake batter:
- Beat the softened cream cheese and sugar until silky smooth, then add eggs one at a time, mixing thoroughly after each addition.
- Finish the cheesecake mixture:
- Fold in the sour cream, vanilla, and flour until just combined, being careful not to overmix which can incorporate too much air.
- Layer and bake:
- Carefully pour the cheesecake batter over the partially baked red velvet layer, smooth the top, and bake for 1 hour and 5 minutes until set but slightly wobbly.
- Cool gradually:
- Turn off the oven, crack the door open, and let the cheesecake cool inside for an hour to prevent sudden temperature shock and cracks.
- Chill thoroughly:
- Refrigerate for at least 6 hours or overnight, letting the flavors meld and the texture set completely before slicing.
 Pin It
 My neighbor actually knocked on my door asking what I was baking because the vanilla aroma was drifting through the hallway. That moment when you realize youve made something special before it even comes out of the oven.
Making It Ahead
This cheesecake actually improves with a day in the fridge. The red velvet layer settles into the cheesecake and the flavors deepen beautifully.
Serving Suggestions
I love serving this slightly chilled, letting each slice sit on the counter for 15 minutes before serving. The contrast between the cold cheesecake and the softer cake layer is worth the wait.
Presentation Ideas
White chocolate shavings tucked into the frosting look elegant and add a complementary flavor.
- Fresh raspberries or strawberries add brightness and cut through the richness
- A dusting of cocoa powder on half the frosting creates a stunning visual effect
- Chocolate dipped strawberries around the perimeter make it celebration worthy
 Pin It
 This dessert has become my go to for celebrations, and honestly, sometimes just because Tuesday calls for something extraordinary.
Recipe FAQs
- → How do I achieve the moist texture in the red velvet layer?
-
Using buttermilk and oil in the red velvet batter adds moisture and tenderness, while the vinegar helps tenderize the flour for a soft crumb.
- → Can I skip the cream cheese frosting?
-
Yes, the cream cheese frosting is optional; the dessert remains rich and flavorful without it, showcasing the two main layers.
- → Why is the cheesecake baked over a partially baked red velvet base?
-
Partially baking the red velvet layer ensures it sets without overcooking when the cheesecake layer is added and baked together, maintaining distinct textures.
- → What is the recommended chilling time before serving?
-
It's best to refrigerate for at least six hours or overnight to allow the layers to firm up and the flavors to meld beautifully.
- → Can I add a crust beneath the red velvet layer?
-
Adding a chocolate cookie crust provides extra crunch and structure, enhancing the dessert’s texture contrast.