
 Pin It
 Start by preheating the oven to 175°C and lining a 23cm square pan. Melt butter and dark chocolate until smooth, then whisk sugars with eggs until glossy. Stir in vanilla and unfed sourdough discard, fold in melted chocolate, then gently fold sifted flour and cocoa—avoid overmixing. Spread in the pan, scatter mini chips and sprinkles, and bake 28–32 minutes for a moist center. Cool at least 20 minutes before slicing. For extra depth, add a pinch of espresso powder or swap chocolate varieties; shorten bake time for gooier squares and lengthen for firmer bars.
The rain was hammering against the kitchen window the afternoon I first dumped sourdough discard into brownie batter, mostly out of stubbornness and a refusal to throw away another jar of the stuff. What came out of the oven forty minutes later was nothing short of a revelation: dense, fudgy squares with a barely there tang that made the chocolate taste deeper and more complex than any brownie I had ever made. My partner walked in, grabbed one still warm, and stood speechless for a full ten seconds before muttering that I had ruined all other brownies forever. That rainy accident became the most requested dessert in our house.
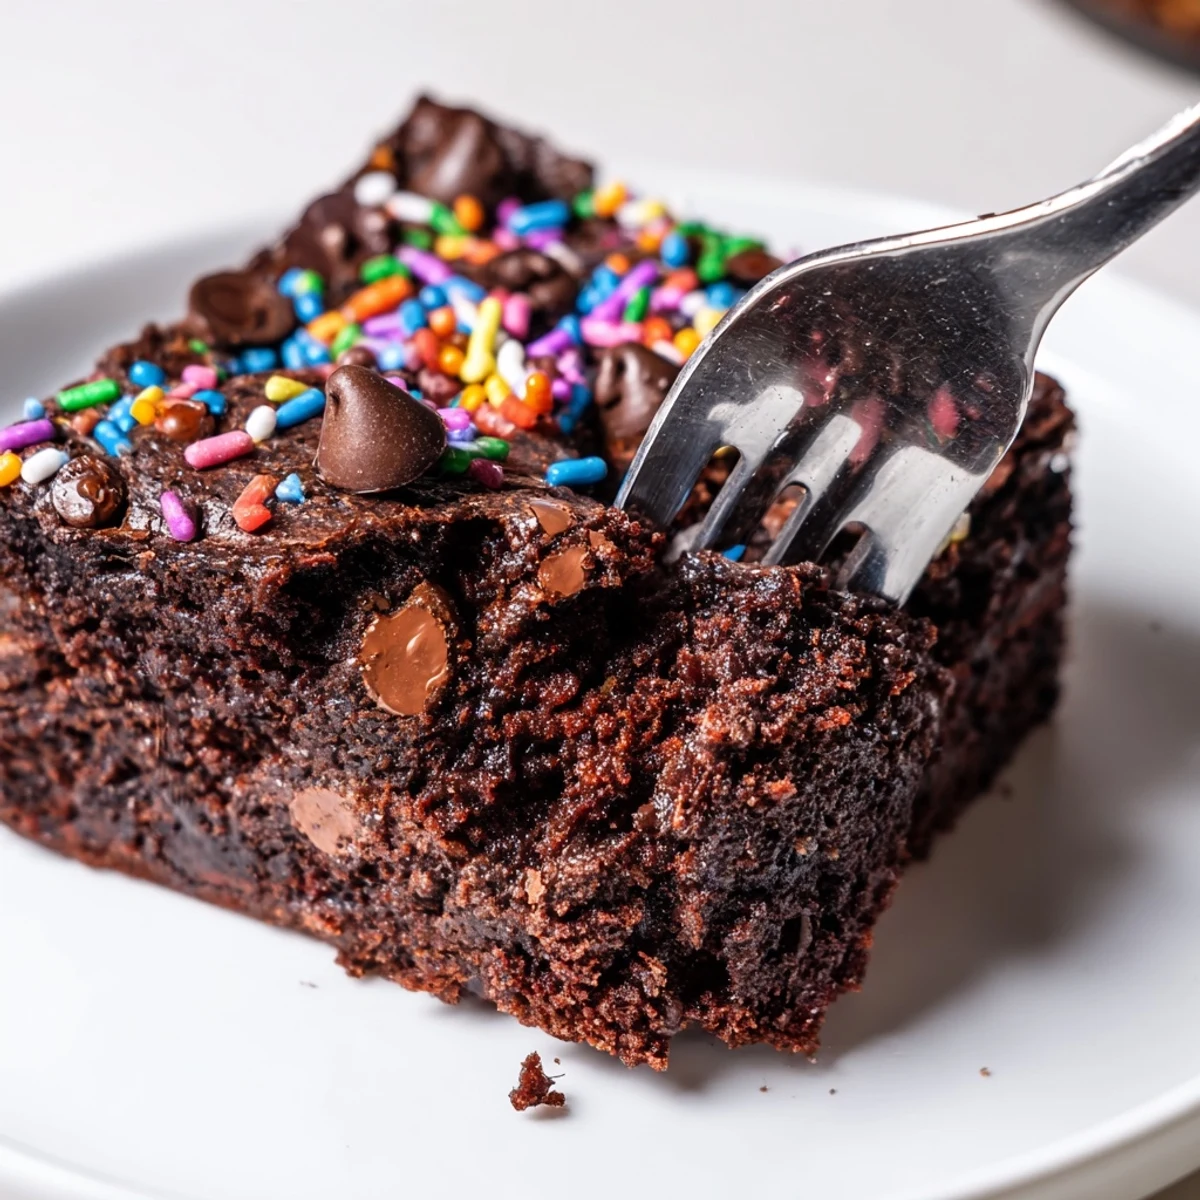
I brought a tray of these to a friend's birthday picnic last spring, and three people pulled me aside to ask for the recipe before the cake was even cut. The cosmic sprinkles on top made them look almost too fun to eat, but that lasted about three seconds. Now they are the only thing I am allowed to bring to gatherings.
Ingredients
- Unsalted butter (120 g, melted): Good butter is the backbone of a rich brownie. I always use unsalted so I can control the salt level myself.
- Dark chocolate (200 g, chopped): Use something you would happily eat on its own. A 60 to 70 percent cacao bar gives you depth without bitterness.
- Granulated sugar (150 g): This gives the brownies their classic crackly top. Do not skimp on it.
- Light brown sugar (80 g): A little molasses sweetness goes a long way toward making the crumb soft and moist.
- Sourdough starter discard (100 g, unfed and room temperature): This is the star player. If your discard has been sitting in the fridge for a week, even better. The tang develops over time.
- Large eggs (2): Room temperature eggs blend more smoothly into the batter and help with lift.
- Vanilla extract (1 tsp): Real vanilla always. Your brownies deserve it.
- All-purpose flour (80 g): Less flour than you might expect, and that is intentional. It keeps things fudgy rather than cakey.
- Unsweetened cocoa powder (30 g): This reinforces the chocolate flavor without adding extra fat or sweetness.
- Salt (1/2 tsp): Do not skip this. Salt is what makes chocolate taste like itself.
- Mini chocolate chips (40 g): Scattered on top, they create little pools of melted chocolate across the surface.
- Colorful sprinkles (30 g): Rainbow or cosmic style. These are purely for joy and they deliver every single time.
Instructions
- Preheat and prep:
- Set your oven to 175 degrees Celsius (350 degrees Fahrenheit). Line a 23cm square pan with parchment paper, leaving some overhang on the sides so you can lift the brownies out later.
- Melt the chocolate and butter:
- Combine the chopped chocolate and butter in a microwave-safe bowl and heat in 30-second bursts, stirring between each one, until the mixture is completely smooth and glossy. Let it cool for a few minutes so it does not scramble the eggs later.
- Whisk sugars and eggs:
- In a large mixing bowl, whisk the granulated sugar, brown sugar, and eggs together vigorously for about 2 minutes until the mixture turns thick, pale, and glossy. This step builds the structure that gives you that beautiful crackly top.
- Add the magic ingredients:
- Stir in the vanilla extract and sourdough discard until everything is well combined. The batter might look slightly strange at this point with streaks of discard running through it, but trust the process.
- Bring in the chocolate:
- Pour the melted chocolate mixture into the bowl and stir gently until the batter is one dark, unified mass. Take a moment to appreciate how incredible it smells.
- Fold in the dry ingredients:
- Sift the flour, cocoa powder, and salt together in a separate bowl, then fold them into the wet batter with a spatula. Stop folding the moment you no longer see dry streaks. Overmixing is the enemy of fudgy brownies.
- Spread and decorate:
- Transfer the batter to your prepared pan and spread it out evenly. Scatter the mini chocolate chips and cosmic sprinkles across the top as generously as your heart desires.
- Bake:
- Slide the pan into the oven and bake for 28 to 32 minutes. You want the center just set with a toothpick coming out with moist crumbs clinging to it, not wet batter.
- Cool and slice:
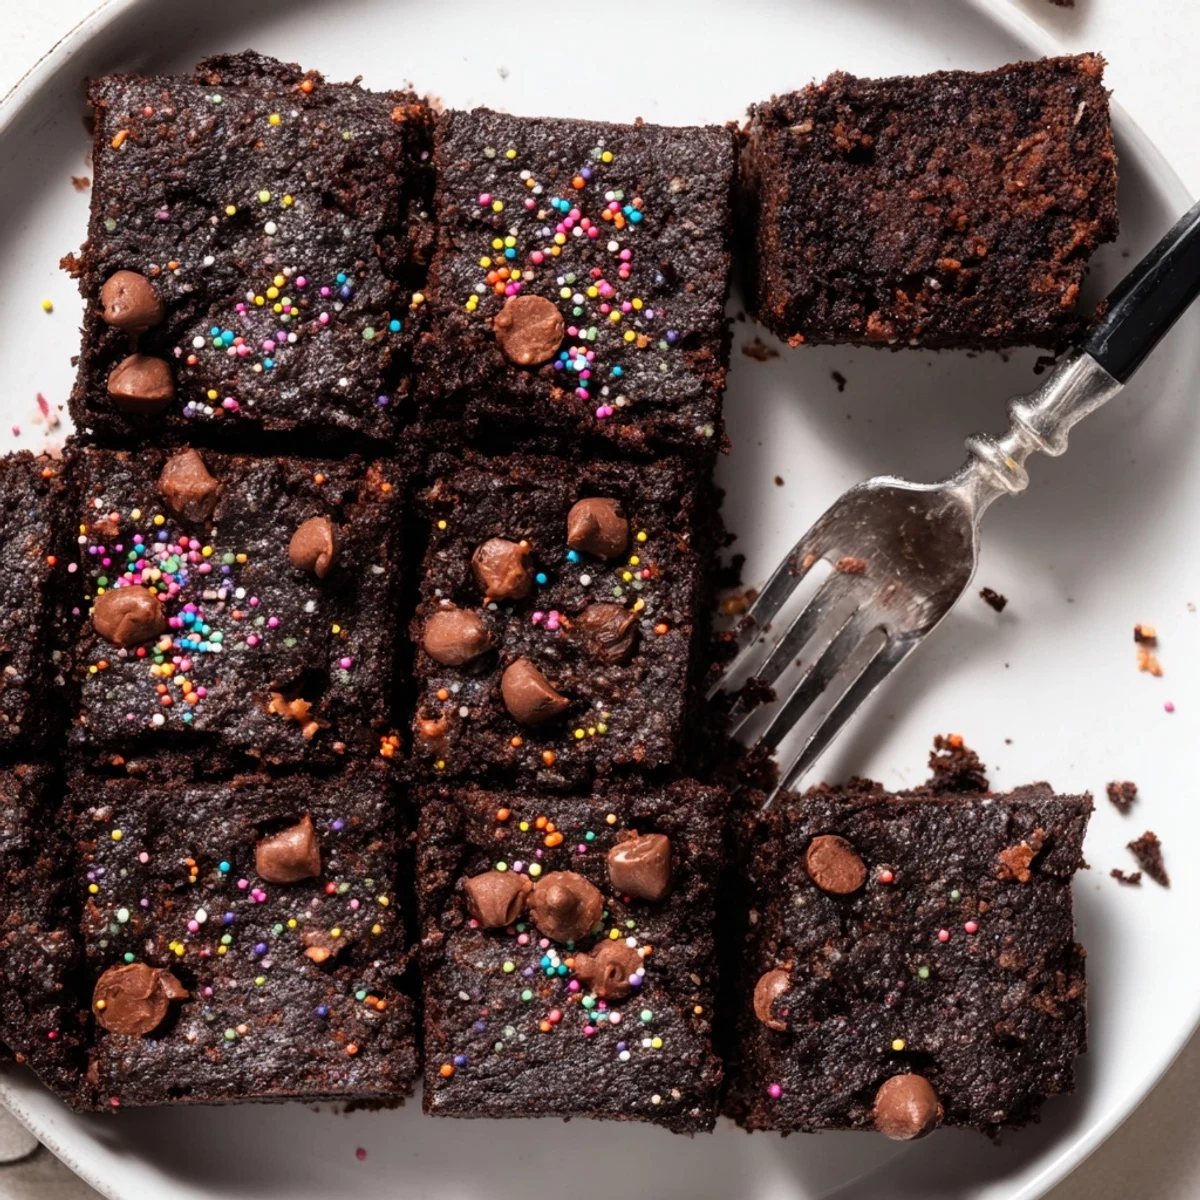
- Let the brownies cool in the pan for at least 20 minutes before cutting into 16 squares. Warm brownies are tempting but they will fall apart if you rush this step.
 Pin It
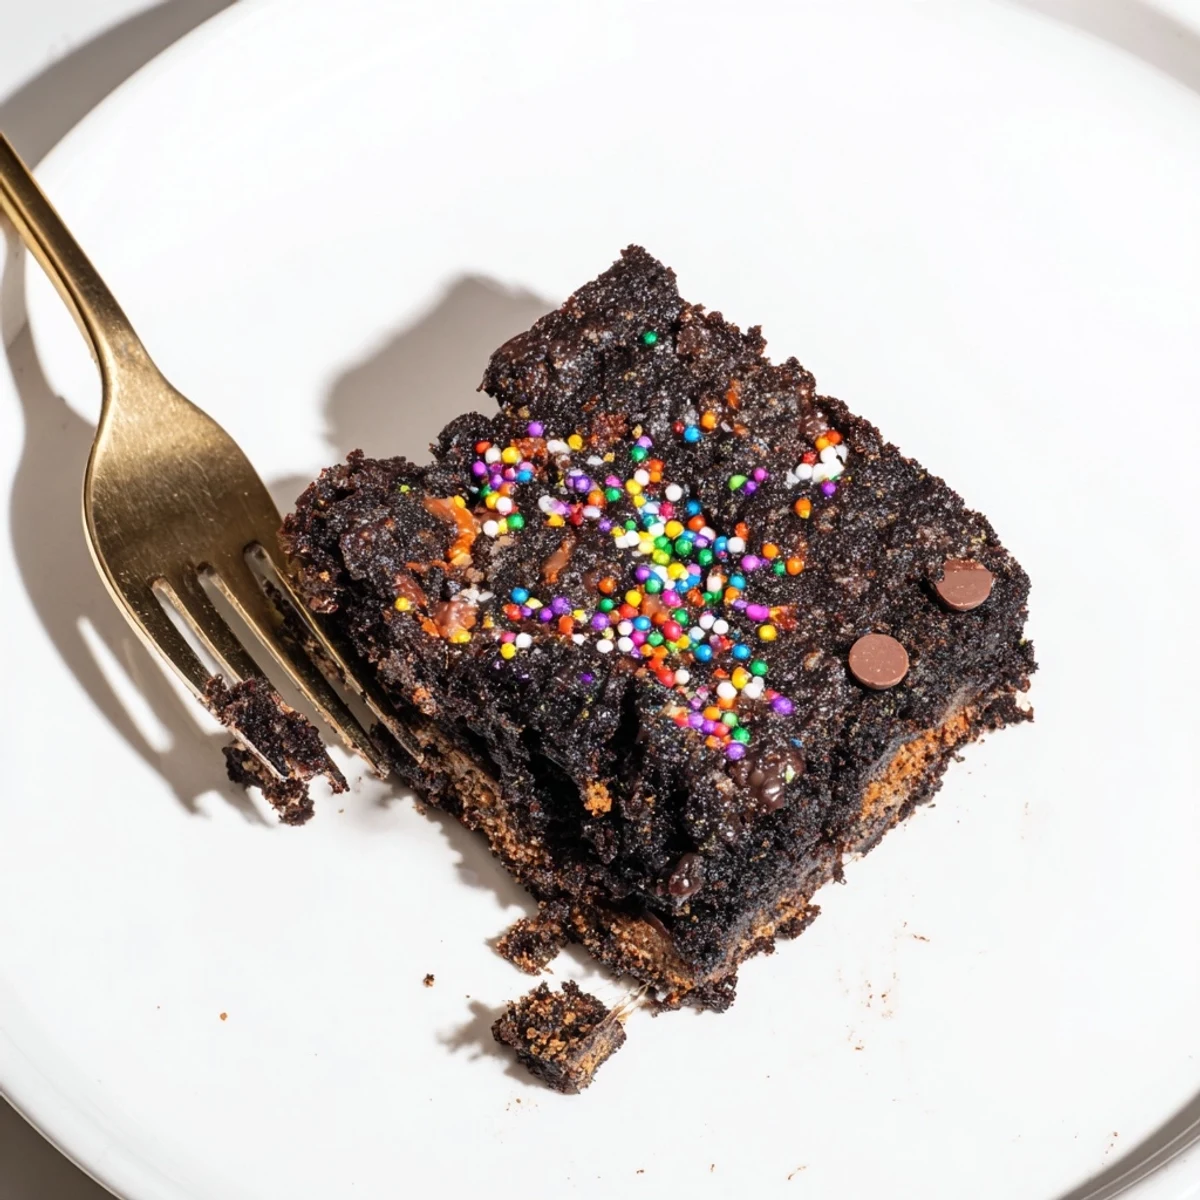
 The night I realized these brownies had become a true household staple, I found my teenage nephew quietly eating a third square standing in front of the open fridge at midnight. He looked at me, I looked at him, and we both pretended it never happened. Some foods just create their own gravitational pull.
What If You Do Not Have Sourdough Discard
If you do not keep a sourdough starter, you can substitute 100 g of full-fat plain yogurt thinned with a splash of milk. The tang will not be identical, but it will still produce a remarkably good brownie with a similar depth of flavor.
The Espresso Powder Trick
A quarter teaspoon of espresso powder mixed into the dry ingredients is one of those small additions that makes people close their eyes when they take the first bite. It does not make the brownies taste like coffee. It simply wakes up every note of chocolate already in the batter.
Serving and Storing Your Brownies
These brownies keep beautifully in an airtight container at room temperature for up to four days, and honestly I think they taste even better on day two when the flavors have settled. For a truly decadent experience, warm a square for ten seconds in the microwave and serve it with a scoop of vanilla ice cream melting slowly on top.
- You can freeze individually wrapped squares for up to three months and thaw them at room temperature when the craving hits.
- A sharp knife wiped clean between each cut gives you the neatest squares.
- Always store them uncovered for the first few hours so the top retains its slight crispness.
 Pin It
 Every time I pull a pan of these from the oven, I think about how the best recipes are often born from refusing to waste something. These brownies turned my sourdough guilt into pure kitchen joy.
Recipe FAQs
- → Can I use active sourdough starter instead of discard?
-
Yes. Active starter will add more rise and tang; reduce any added liquid slightly if the starter is very loose. Unfed discard is used here for texture and subtle tang without extra rise.
- → How can I tell when the center is done?
-
Insert a toothpick into the center: it should come out with moist crumbs rather than wet batter. Edges will look set and the center will have a slight jiggle when moved.
- → What makes these brownies fudgy versus cakey?
-
Fudgy texture comes from a higher fat-to-flour ratio and minimal mixing. Melted chocolate and butter, fewer flour grams, and a shorter bake (closer to 28 minutes) keep them dense and gooey.
- → Any recommended chocolate swaps or flavor boosts?
-
Swap dark chocolate for milk or white for a sweeter profile. A pinch of espresso powder intensifies chocolate notes; adding chopped nuts or a swirl of caramel changes texture and flavor.
- → How should I store and reheat the squares?
-
Store cooled squares in an airtight container at room temperature up to 3 days, or refrigerate for up to a week. Rewarm gently in a low oven or microwave for a few seconds to revive gooeyness.
- → Can I freeze them and for how long?
-
Yes—wrap individual squares or the whole slab tightly and freeze up to 2 months. Thaw at room temperature or warm briefly in the oven before serving.