 Pin It
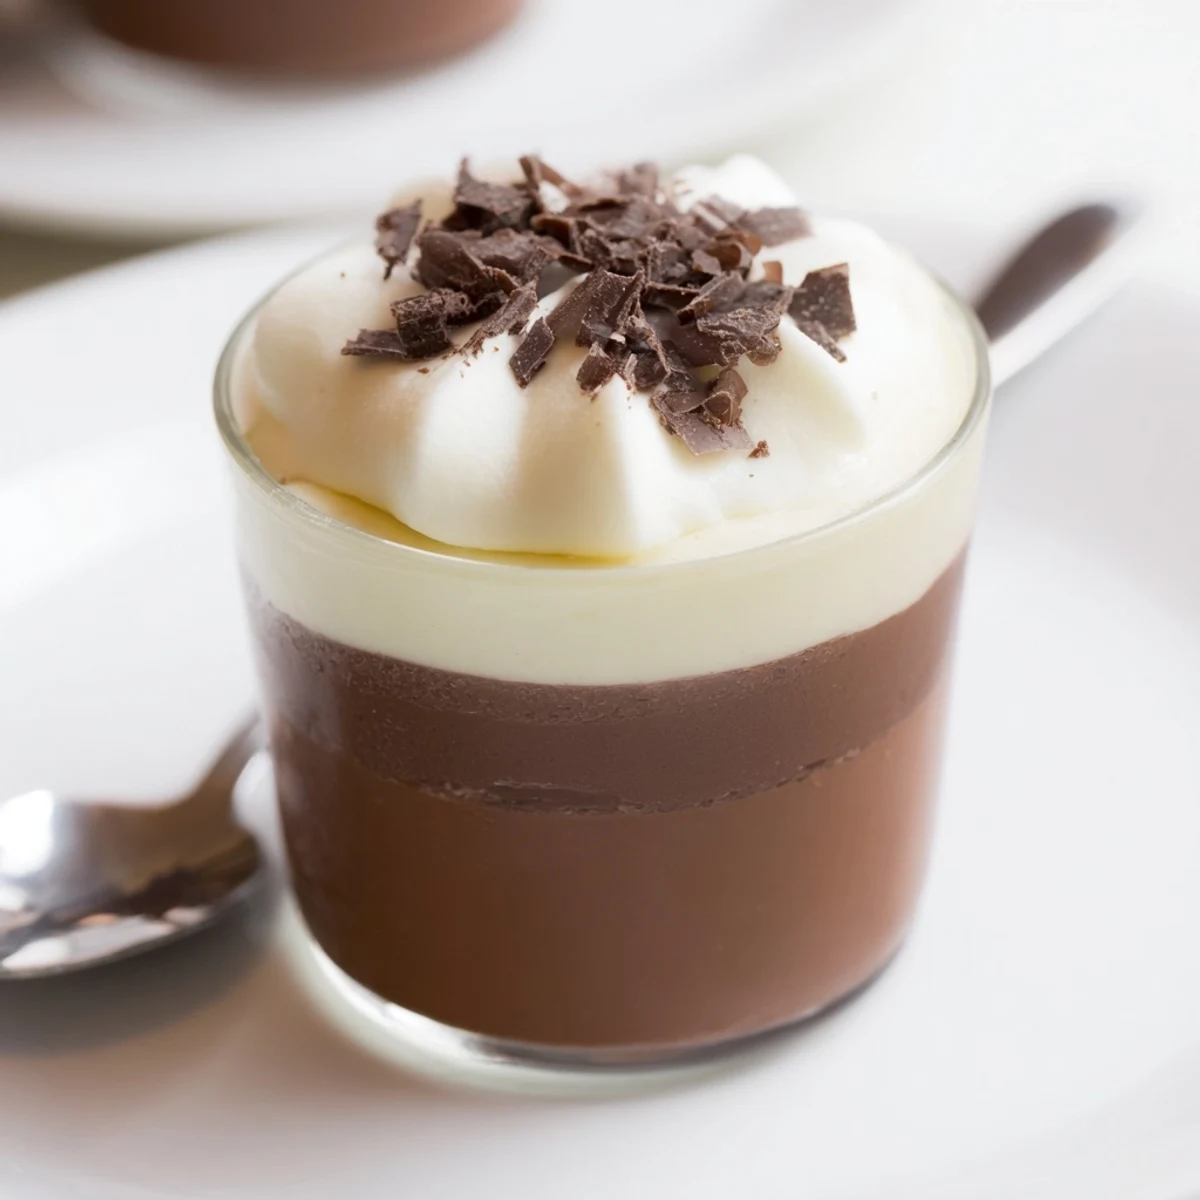
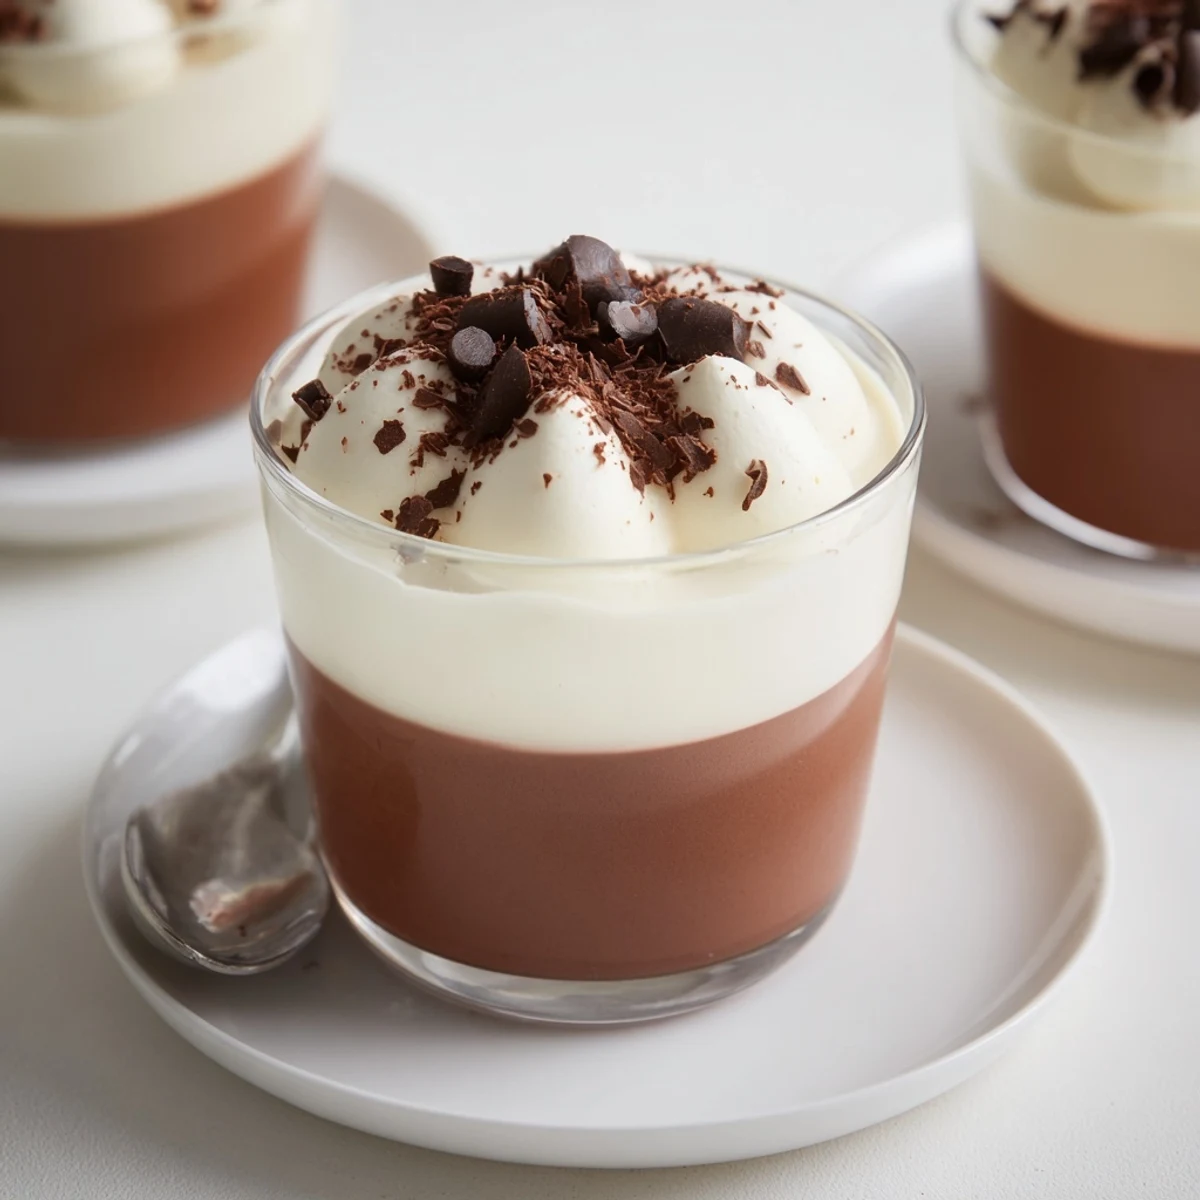
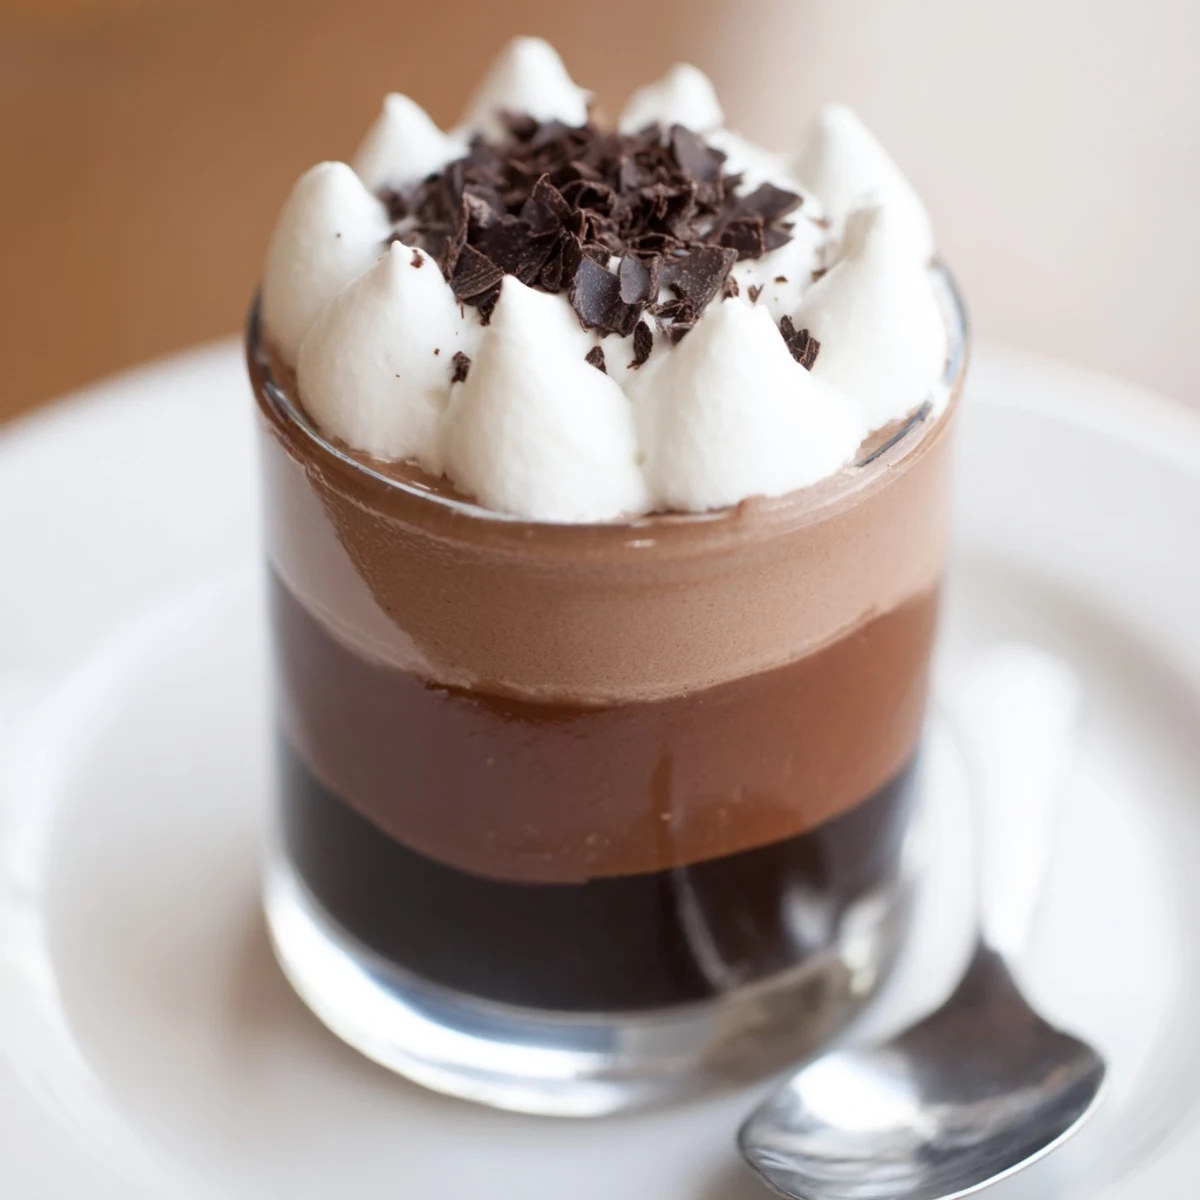
 This elegant, no-bake dessert layers dark, milk and white chocolate mousses in six cups. Melt each chocolate, whisk an egg yolk with sugar until pale, fold in cooled chocolate, then gently fold in softly whipped cream. Spoon or pipe successive layers, chill until set (about 1 hour). Use quality chocolate, chill between layers for clean lines, and add a splash of coffee liqueur to the dark layer if desired.
The first time layers of chocolate mousse made their way into my kitchen, the sound was chaos: spatulas clinking, bowls spinning, and laughter bubbling as friends eyed the growing towers of chocolate. That night, my motivation was equal parts curiosity and a desperate need for something that truly wowed at dessert. I can't forget marveling at the silky chocolate ribbons pouring in three gradients, and the hush that followed first bites. There's something almost mischievous about serving these little cups of decadence while pretending they took far less effort than they actually did.
One spring evening, these mousse cups stole the show at a dinner gathering—the table crowded, sunlight pouring through, and everyone leaning in to watch the unveiling. There was a friendly squabble over who got the cup with the tallest swirl, and a chorus of oh wows after the first chilled bite. I remember wishing I'd made double the batch. It’s now the official celebration dessert in our circle.
Ingredients
- Dark chocolate (minimum 60% cocoa): Go for something bold and bittersweet: it anchors the dessert and cuts through sweetness with elegance.
- Egg yolks: These create that impossibly smooth, velvety mousse—just be sure to whisk until truly pale.
- Sugar: No need to overdo it; just enough brings out the best in each chocolate tier.
- Heavy cream (cold): The colder the cream, the fluffier your mousse will become—don’t rush this step.
- Milk chocolate: This mellows out the dark chocolate’s punch and adds gentle creaminess; pick your favorite bar.
- White chocolate: Some find it finicky—chop it finely and melt with patience for a smooth final layer.
- Shaved chocolate or cocoa powder: Even just a dusting transforms the cups from homemade to patisserie-level presentation.
Instructions
- Melt the Dark Chocolate:
- Break the dark chocolate into pieces and melt it slowly over a bain-marie, or in the microwave in short bursts, stirring often for a glossy finish.
- Whisk Egg Yolks and Sugar:
- Vigorously beat the egg yolk with sugar until it becomes pale and thick, making your arm work is part of the fun.
- Combine and Fold:
- Once the chocolate has cooled slightly, fold it gently into the yolk-sugar mixture—you’ll see a luscious, shiny batter appear.
- Whip the Cream:
- In a clean, chilled bowl, whip the heavy cream until soft peaks form; don’t overwhip or the mousse will lose its silkiness.
- Assemble Dark Layer:
- Gradually fold the whipped cream into the chocolate mixture; spoon evenly into the bottom of six serving cups and chill while you continue.
- Repeat for Milk Chocolate:
- Follow the same melting, whisking, and folding process for the milk chocolate mousse, then layer it carefully atop the dark chocolate; chill again.
- Create the White Chocolate Layer:
- For the white chocolate, respect its delicacy: melt gently, whisk swiftly, and pipe or spoon the mousse on top, trying not to disturb the layers beneath.
- Chill to Set:
- Let the cups rest in the fridge for at least an hour, or until every layer is softly set and temptingly firm to the touch.
- Final Garnish:
- Before serving, shave chocolate curls directly over the cups or dust lightly with cocoa powder for a finishing touch that looks like a chef’s secret.
 Pin It
 When I first made these for my partner’s birthday, the kitchen was a glorious mess—chocolate streaks on the counter, stray chocolate shavings, and the unmistakable scent of celebration in the air. Watching their face light up at the first layered spoonful made every bowl to wash totally worth it. This recipe turned an ordinary Tuesday into something worth remembering.
Mastering the Layering Game
The real fun comes with that moment you spoon or pipe each mousse, wondering if the layers will stay neat. Chill each layer just enough so it’s firm but not hard—it’s one of those little mysteries you only solve through practice. I once rushed and ended up with beautiful, albeit marbled, mousse cups that still vanished in minutes. Trust your fridge and don’t peek too soon.
Choosing the Right Chocolates
Chocolate truly makes or breaks this dessert—splurge on quality bars with simple ingredients. Cheap chocolate can leave an odd coating or make the layers grainy, so now I look for brands I’d enjoy eating out of hand. If you prefer things less sweet, opt for a darker milk or semi-sweet white chocolate. Every batch has its own charm, depending on the bars you select.
In-the-Moment Fixes and Serving Ideas
If the mousse looks stubborn or lumpy, don’t panic—a gentle air-pocket-busting tap of the cup on the counter works wonders. These little cups make impressive make-ahead desserts for dinner parties (or weekday treats for one) and are easy to serve in coffee cups or wine glasses in a pinch.
- If you want extra flourish, add a swirl of whipped cream on top.
- Freezing the cups for 20 minutes gives sharper layers.
- Remember: perfection is overrated when you’re busy sneaking chocolate scraps from the bowl.
 Pin It
 Share these triple chocolate mousse cups and watch the room grow quieter with delight. May your kitchen be filled with satisfied sighs and plenty of chocolatey spoons to lick clean.
Recipe FAQs
- → Can I make these ahead of time?
-
Yes. Prepare the cups up to a day in advance and keep covered in the refrigerator; flavours meld and textures remain creamy. For longer storage, freeze briefly and thaw in the fridge before serving.
- → How do I get clean, distinct layers?
-
Chill each layer until slightly set before adding the next. Use a chilled spoon or pipe the next layer gently to avoid breaking the layer below. A 25–30 minute chill in the freezer between layers speeds setting without freezing solid.
- → Are raw egg yolks safe to use?
-
These mousses use raw egg yolks tempered with warm chocolate. Use fresh, high-quality eggs or pasteurized yolks if concerned. Alternatively, use a light sabayon or stabilized whipped cream to reduce raw-egg exposure.
- → Can I vary the chocolates or add liqueur?
-
Yes. Swap bars for different cocoa percentages to adjust intensity. Add a splash of coffee liqueur to the dark chocolate layer or orange liqueur to the milk layer for extra depth—add sparingly to avoid thinning the mousse.
- → How do I achieve stable mousse texture?
-
Whip the cream to soft peaks and fold gently to preserve air. Ensure melted chocolate is cooled slightly before folding into yolks to prevent curdling. Keep proportions of chocolate to cream consistent for a smooth, stable set.
- → What garnishes work best?
-
Finish with shaved chocolate, a dusting of cocoa powder, or a few chocolate curls. Thinly sliced toasted nuts or a sprinkle of sea salt can add texture and contrast to the creamy layers.