 Pin It
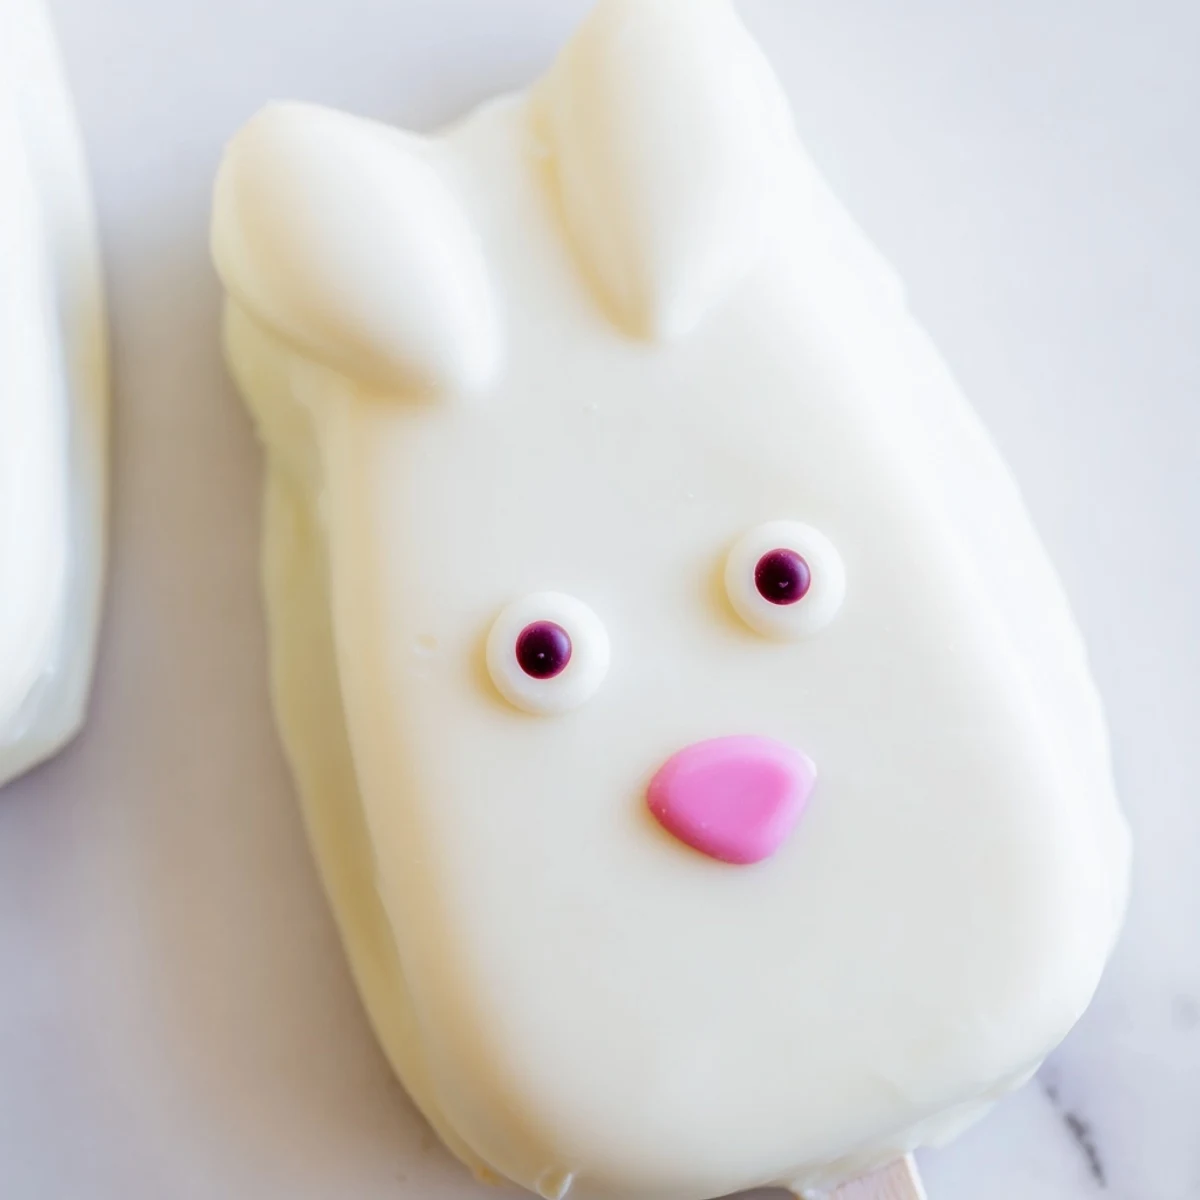
 These charming bunny-shaped handheld treats combine moist vanilla cake crumbs with cream cheese and butter, creating a perfect dough that holds its shape. After forming flattened ovals and securing sticks, each piece gets dipped in smooth white chocolate. The magic happens during decoration—add candy eyes, sprinkle-adorned ears, and cute pink noses using food coloring or fondant. The result is an adorable Easter dessert that's as fun to make as it is to serve. Store them in the refrigerator for up to three days, though they rarely last that long during festive gatherings.
Last Easter, my niece came over and we decided to make something that would make the kids' table extra special. She grabbed a bunny-shaped cookie cutter and looked at me with those big creative eyes that only children have. We ended up making these cakesicles, and honestly, they were such a hit that the adults were fighting over them too.
I made these again for my book club, and let me tell you, grown women get surprisingly excited about bunny-shaped desserts. One of my friends took three home 'for her kids' but I'm pretty sure they didn't survive the car ride. Now they're the first thing anyone asks about when Easter planning starts.
Ingredients
- 1 cup vanilla cake crumbs: Use leftover cake or cupcakes, homemade or store-bought works equally well
- 2 tbsp cream cheese: Make sure it's properly softened so it blends smoothly into the crumbs
- 1 tbsp unsalted butter: Room temperature butter helps bind everything together without making it greasy
- 2 tbsp powdered sugar: This adds just enough sweetness without overwhelming the coating
- 1/2 tsp vanilla extract: Pure vanilla makes a noticeable difference in the final flavor
- 10 oz white chocolate: Candy melts work great for beginners, but good quality white chocolate tastes amazing
- Edible gel food coloring: Pick up pink, yellow, or whatever colors your crew loves for those bunny details
- 8 cakesicle sticks: Don't wait until you're ready to dip—make sure you have these on hand
- Sprinkles and decorations: Candy eyes, fondant, whatever makes your bunny unique
Instructions
- Mix the cake base:
- Combine cake crumbs, cream cheese, butter, powdered sugar, and vanilla in a medium bowl until it holds together like soft dough.
- Shape your bunnies:
- Divide into 8 portions and form flattened ovals that resemble little bunny faces, then insert sticks and refrigerate until firm.
- Melt the coating:
- Heat white chocolate in 30-second intervals, stirring between each burst until completely smooth and glossy.
- Dip and decorate:
- Coat each cakesicle completely, tap off excess chocolate, then add decorations before the coating sets.
 Pin It
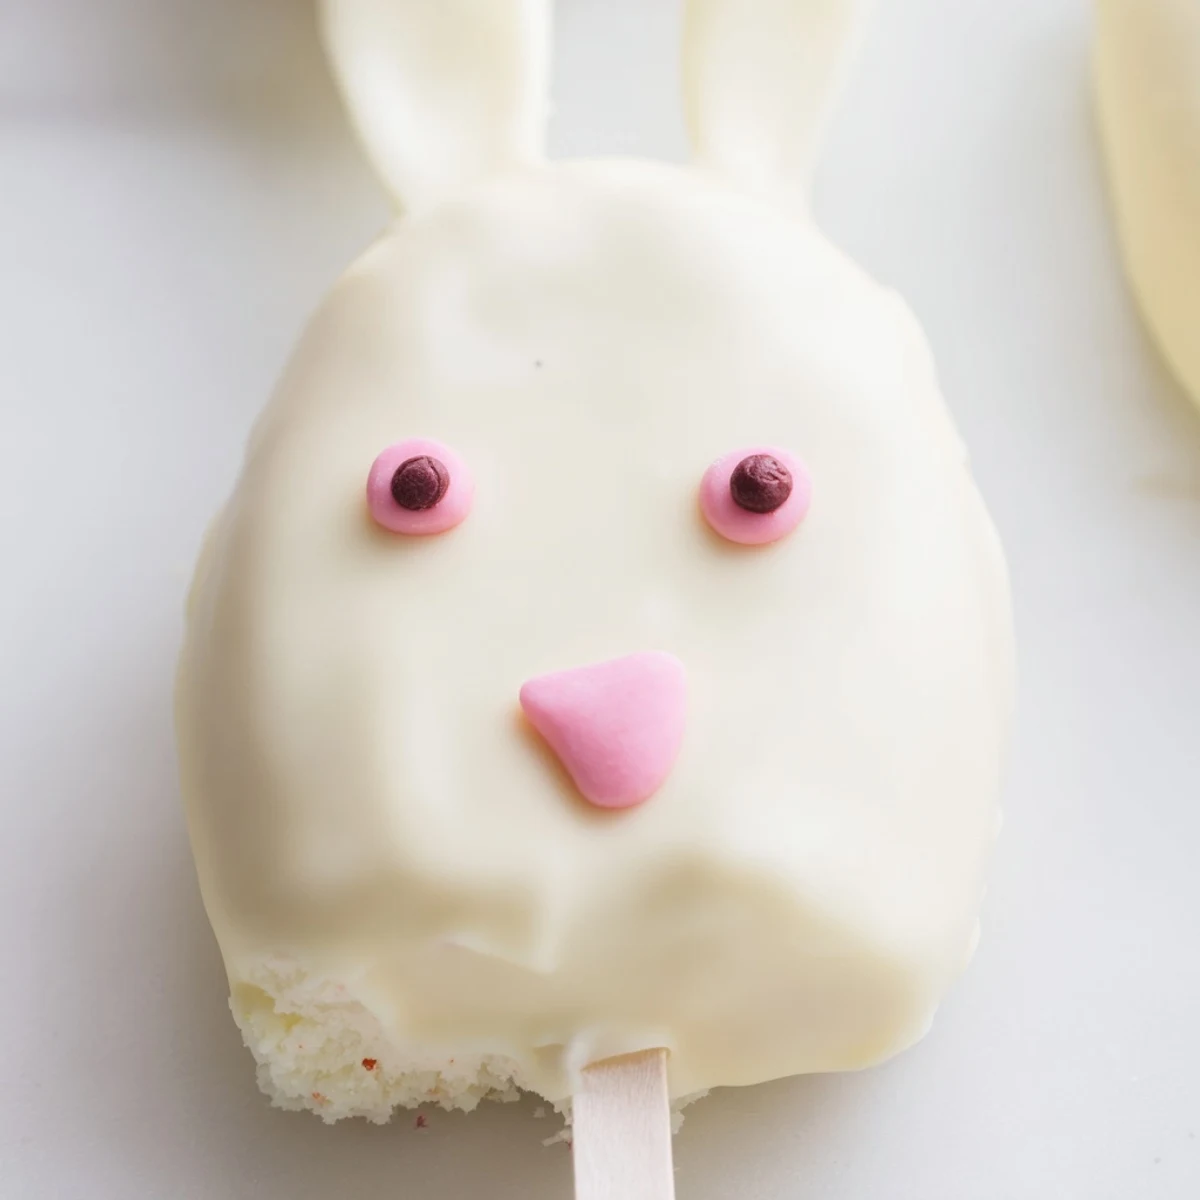
 These became my go-to contribution for any spring gathering after my neighbor's daughter asked if I could make them for her birthday instead of Easter. Apparently, some holidays are just suggestions when white chocolate and sprinkles are involved. I love seeing how excited people get over something so simple.
Making Them Ahead
You can prepare the cake balls up to two days before dipping and store them in the refrigerator. This actually works in your favor since they'll be perfectly cold when you're ready to coat them. Just keep them covered so they don't absorb any fridge flavors.
Flavor Variations
Chocolate cake crumbs with a dark chocolate coating creates an elegant version that adults go crazy for. Lemon cake with white coating and yellow sprinkles feels incredibly fresh for spring. You could even do red velvet with cream cheese frosting mixed into the crumbs.
Decoration Ideas
Fondant ears are the most durable option for traveling, but pretzel sticks dipped in pink chocolate work surprisingly well and add a nice crunch. Candy eyes are adorable, but simple pink dot noses and whiskers drawn with food-safe markers look just as cute.
- Set up a decorating station and let kids create their own bunny faces
- Keep a toothpick handy to fix any drips or smooth out imperfections
- Have extra sticks ready in case any come loose during dipping
 Pin It
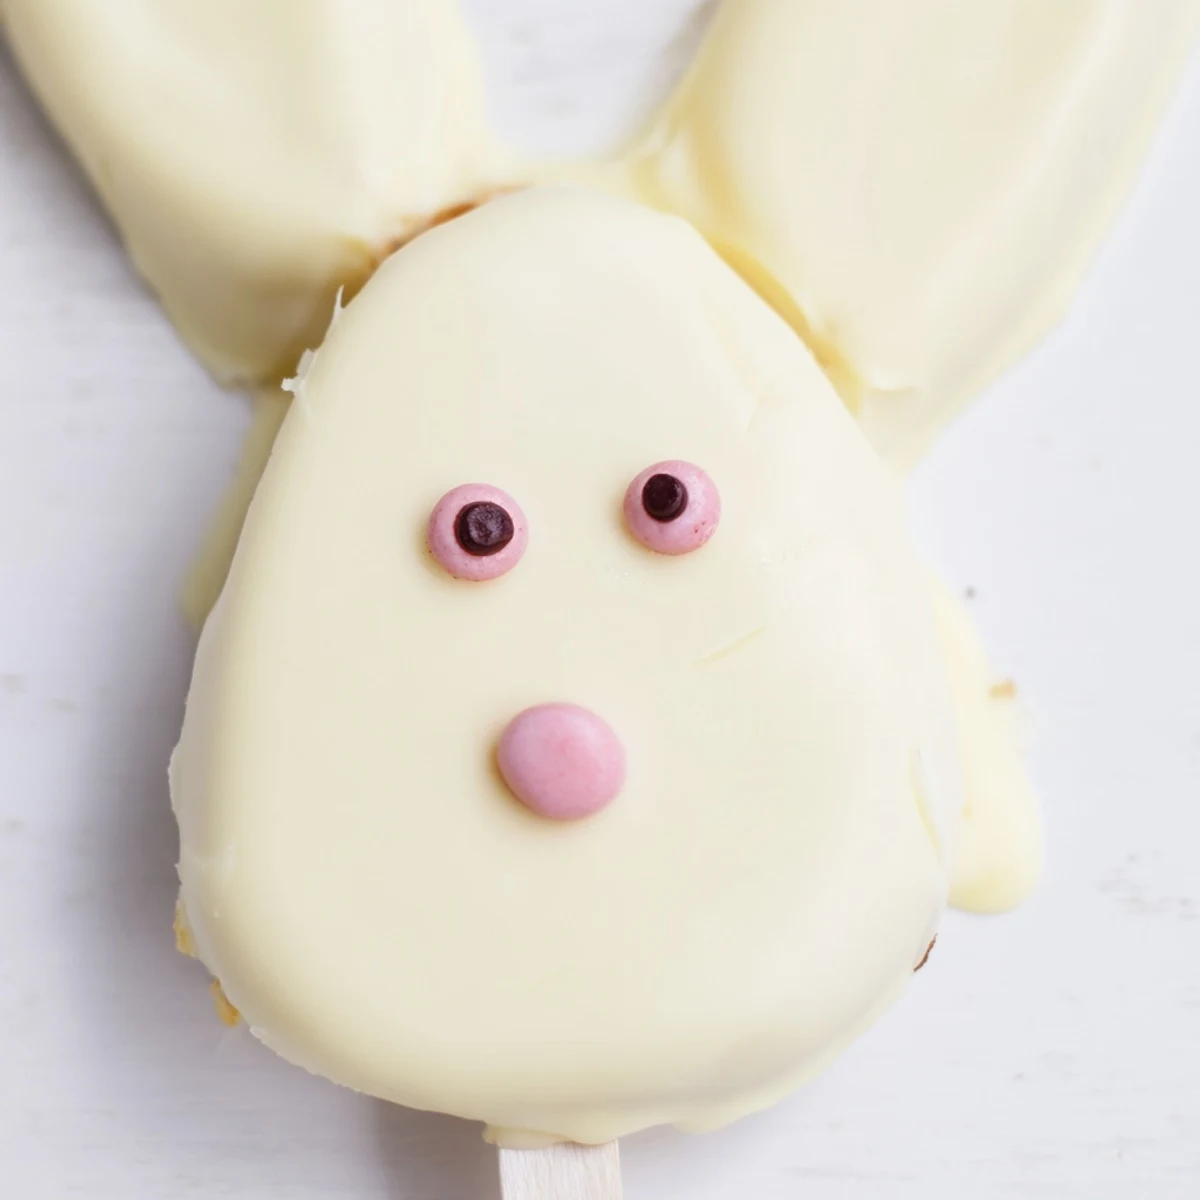
 These bunny cakesicles might just become your new favorite Easter tradition, and they're guaranteed to make anyone who sees them smile. Happy baking.
Recipe FAQs
- → How long do these treats stay fresh?
-
Store in an airtight container in the refrigerator for up to 3 days. Bring to room temperature 15 minutes before serving for optimal flavor and texture.
- → Can I use different cake flavors?
-
Absolutely! Chocolate, lemon, red velvet, or funfetti cake crumbs work beautifully. Just ensure the crumbs are finely crumbled for smooth shaping.
- → What if I don't have cakesicle molds?
-
No problem! Hand-shape into flattened ovals or bunny faces. Molds help with uniformity but aren't essential—freezing the shaped pieces for 20 minutes before dipping helps them maintain form.
- → How do I prevent the coating from cracking?
-
Ensure the cake centers are chilled but not frozen solid when dipping. Let excess chocolate drip off gently and avoid moving them until completely set.
- → Can I make these ahead for a party?
-
Yes! Prepare and decorate up to 2 days in advance. Store layered between parchment paper in an airtight container. Add final decorative touches like fresh sprinkles the day of serving.
- → What's the best way to melt the white chocolate?
-
Use 30-second intervals in the microwave, stirring thoroughly between each burst. White chocolate seizes easily, so avoid overheating—remove when mostly melted and stir until smooth.