
 Pin It
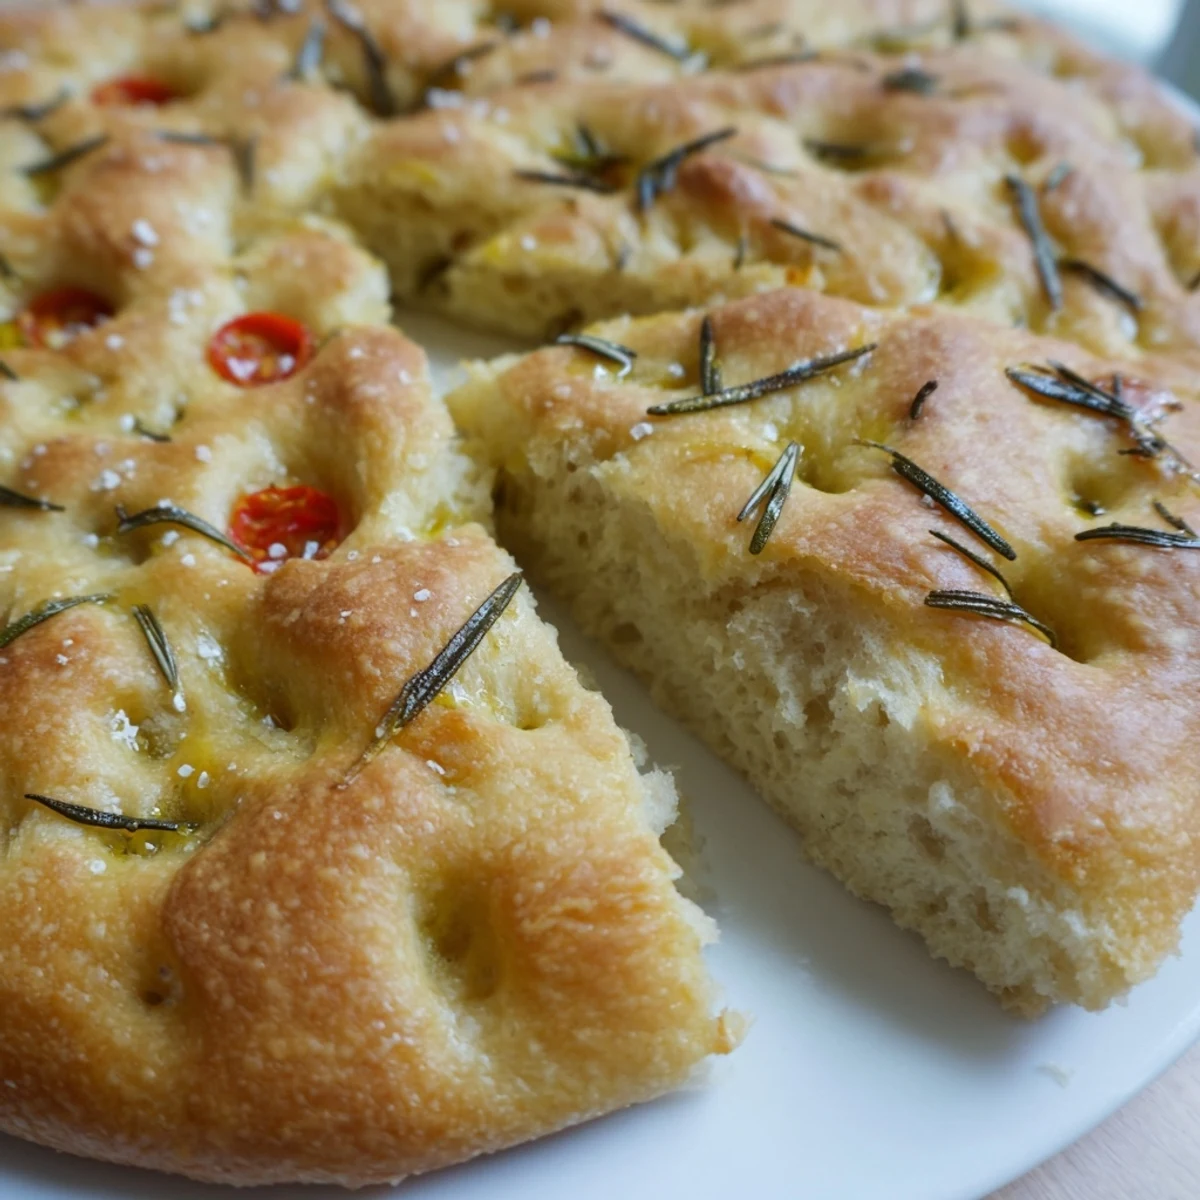
 This beloved Italian flatbread delivers a perfect contrast of textures—crisp, golden crust giving way to an irresistibly soft, airy interior. The dough requires minimal hands-on time, with most of the work happening during a leisurely rise period. A generous brushing of premium extra virgin olive oil creates that signature crackly surface, while flaky sea salt and fresh rosemary provide classic Mediterranean flavors.
The beauty of focaccia lies in its versatility. Enjoy it warm from the oven as an appetizer, use it as a base for sandwiches, or serve alongside soups and salads. The dough eagerly accepts additions like olives, cherry tomatoes, or caramelized onions, making it endlessly adaptable to your taste preferences.
My apartment smelled like a bakery in Liguria for three days straight after I first attempted focaccia, and honestly I was not mad about it. The sponge like texture and that shatteringly crisp crust had me hooked immediately, even though my first attempt looked more like a lumpy map than anything you would find in an Italian bakery. What kept me going was how deeply satisfying it feels to press your fingertips into soft dough and watch it bloom into those gorgeous golden bubbles.
I brought a tray of this to a potluck dinner last autumn and watched three people abandon the main course entirely to stand around the bread board. One friend literally whispered to me that it was better than the focaccia she had eaten in Genoa, which might be an exaggeration but I am keeping that compliment forever. There is something about tearing off a warm, herb flecked piece and sharing it that turns a simple bread into a full experience.
Ingredients
- Bread flour (500 g): Bread flour gives you that chewy, structured crumb that distinguishes focaccia from ordinary flatbread, and I learned the hard way that all purpose flour simply cannot replicate it.
- Salt (10 g): Measuring by weight here matters more than you think because too little salt leaves the dough tasting flat and too much slows down your yeast dramatically.
- Active dry yeast (7 g): Always check the expiration date because dead yeast is the quickest way to turn an afternoon of baking into a sad, flat disappointment.
- Lukewarm water (325 ml): Think baby bottle temperature, around body warmth, because water that is too hot will kill the yeast and water that is too cold will put it to sleep.
- Extra virgin olive oil (50 ml plus 2 tbsp): Use the good stuff here since this recipe lets the olive oil sing, and a fruity, peppery oil transforms the entire character of the bread.
- Sugar (1 tsp): Just enough to wake up the yeast and give it something to feast on without adding any sweetness to the final loaf.
- Fresh rosemary, chopped (1 tbsp): Fresh rosemary releases its piney perfume into the dough as it bakes, though dried works in a pinch if you rub it between your palms first.
- Flaky sea salt (1½ tsp): Maldon or any flaky variety creates those irresistible salty crunch moments, and you really cannot substitute fine table salt for this.
- Pitted olives or cherry tomatoes (optional): Pressing these into the dough before baking creates little flavor bombs that burst and caramelize beautifully.
Instructions
- Wake up the yeast:
- Stir the yeast and sugar into the lukewarm water and let it sit in a warm corner of your kitchen until the surface gets bubbly and fragrant, about 10 minutes. If nothing happens, your yeast is expired and you need to start over.
- Build the dough:
- Mound the flour and salt in a large bowl, carve out a well in the center like a little volcano, and pour in the yeast mixture along with 50 ml of olive oil. Stir with a wooden spoon or your hand until everything comes together into a messy, sticky shag.
- Knead with patience:
- Turn the sticky mass onto a lightly floured counter and work it for 8 to 10 minutes, pushing and folding, until it transforms into a smooth ball that springs back when you poke it. This is where you earn the texture, so do not rush it.
- Let it rise:
- Coat a clean bowl with a film of olive oil, tuck the dough inside, drape a damp kitchen towel over the top, and leave it alone for about an hour until it has puffed up to roughly double its size. The warmth of your kitchen determines the speed here.
- Shape and dimple:
- Oil your baking tray generously, plop the risen dough onto it, and use your fingertips to press and stretch it outward while creating those signature deep dimples across the entire surface. Let your hands feel the resistance and gently coax the dough rather than forcing it.
- Dress it up:
- Drizzle the remaining olive oil over the top so it pools in the dimples, scatter the rosemary and flaky salt evenly, and press olives or tomatoes into the dough if you are using them. Give it another 20 to 30 minutes to puff up again before baking.
- Bake until golden:
- Slide the tray into a screaming hot 220 degree oven and bake for 20 to 25 minutes, watching for a deep golden crust with slightly darker edges. Your whole kitchen will smell incredible right around the 15 minute mark.
- Cool briefly:
- Let the focaccia rest on the tray for about 5 minutes so the crumb can settle and the oil stops sizzling before slicing into generous squares.
 Pin It
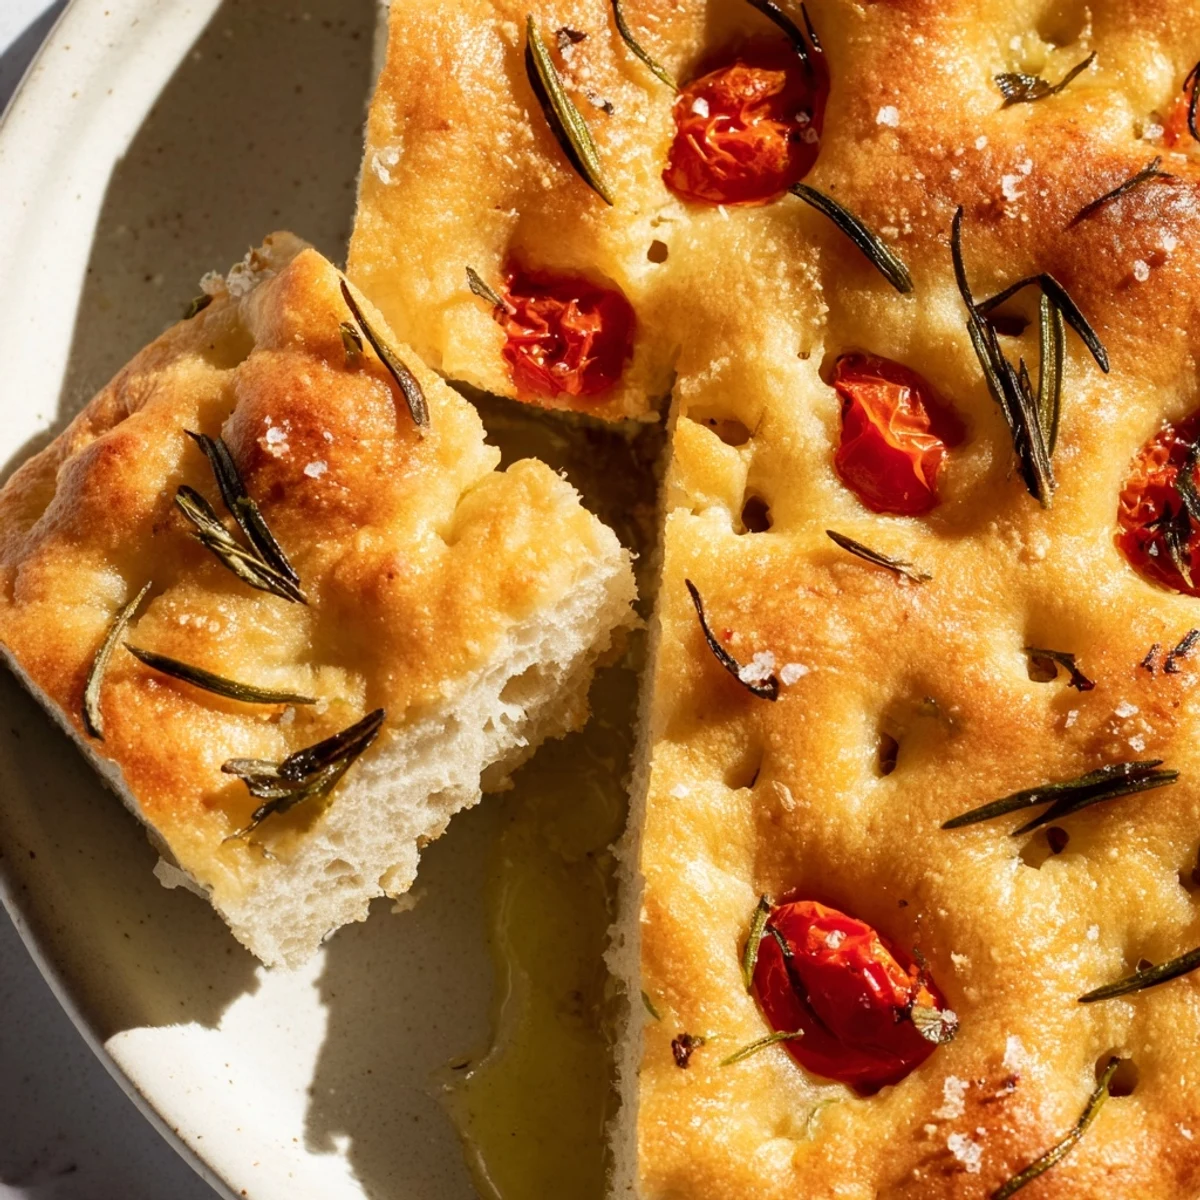
 The second time I made this, my neighbor knocked on my door asking what I was baking because the rosemary and olive oil aroma had drifted through the shared hallway. We ended up sitting on my kitchen floor eating warm focaccia squares with nothing but a dish of olive oil between us, and it remains one of the most unexpectedly perfect evenings I can recall. Bread has a way of turning strangers into friends faster than almost anything else.
Getting Creative with Toppings
Once you feel confident with the basic rosemary and salt version, this dough becomes a playground for seasonal flavors. Thinly sliced red onions pressed into the dimples caramelize into sweet jammy pockets, and halved cherry tomatoes burst and concentrate into tiny sun dried gems right on the bread. I have even scattered drained capers and lemon zest across the top for a bright, briny twist that pairs beautifully with summer soups.
Storing and Reheating
Focaccia is at its absolute best within a few hours of leaving the oven, but it stores surprisingly well wrapped in parchment paper inside a paper bag for up to two days. Avoid plastic wrap or airtight containers because trapped moisture turns the beautiful crisp crust into something soft and sad. To bring day old focaccia back to life, pop pieces into a 180 degree oven for about 5 minutes and they emerge almost as good as fresh.
Pairing Suggestions
A chilled glass of Pinot Grigio and a plate of warm focaccia is arguably all you need for a genuinely satisfying Friday evening. The bread also shines alongside a bowl of minestrone or a simple arugula salad with lemon vinaigrette, soaking up the dressing and broth like it was born to do exactly that.
- For a quick meal, split a square horizontally and stuff it with prosciutto and fresh mozzarella.
- Leftover focaccia makes outstanding croutons when cubed and toasted in a skillet with garlic oil.
- Always let the bread cool for at least 5 minutes before cutting so you do not compress the tender crumb inside.
 Pin It
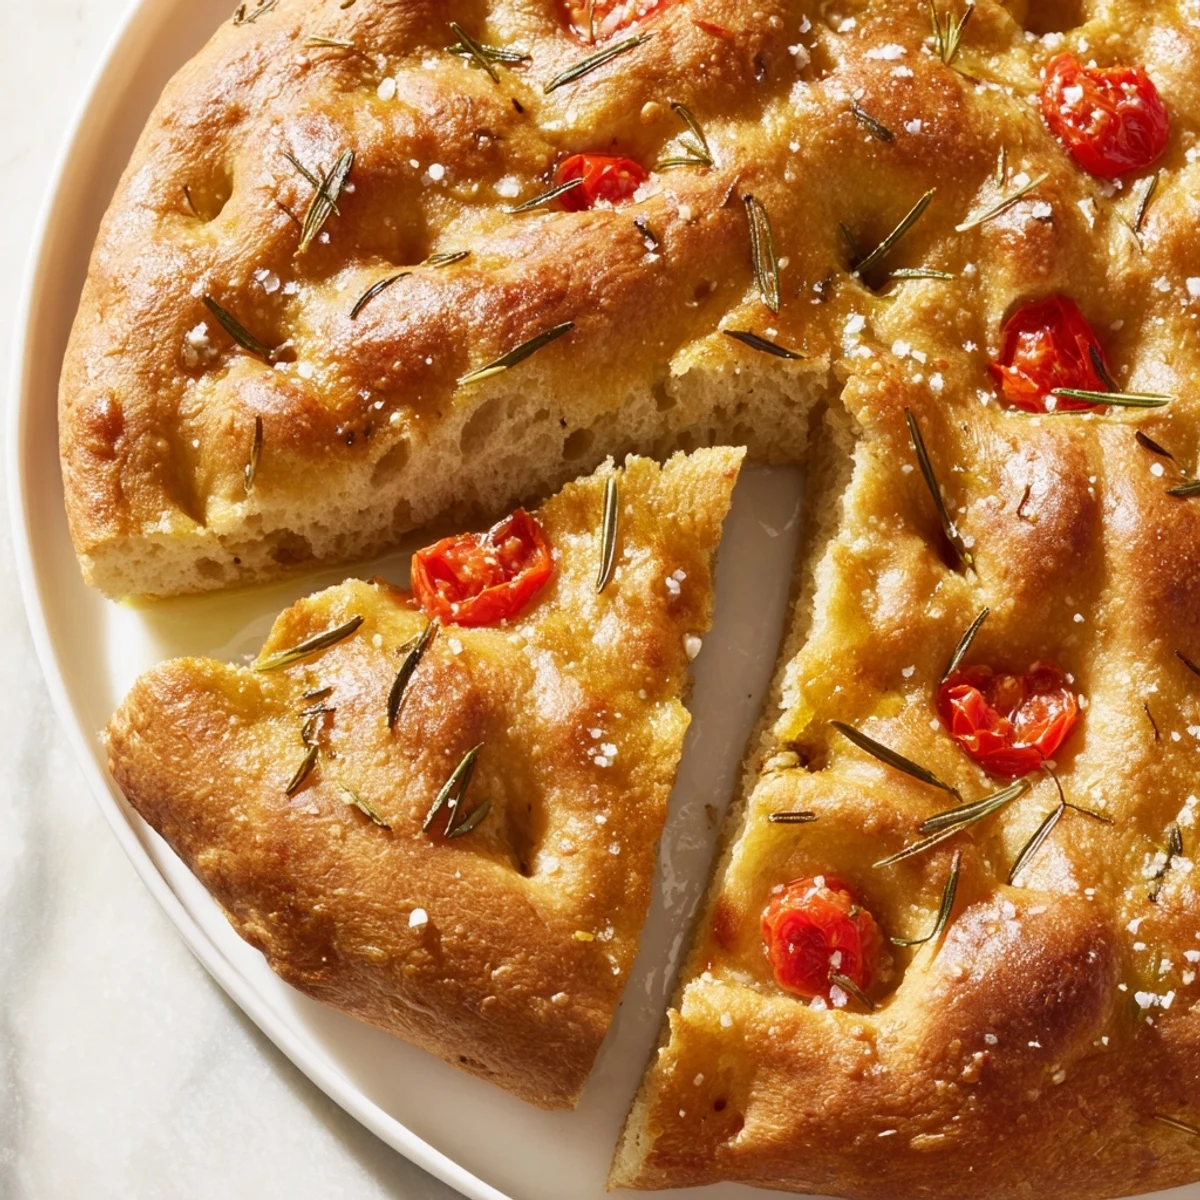
 Every time I press my fingers into that pillowy dough and watch the olive oil settle into the little wells, I feel a quiet kind of happiness that only hands on cooking can deliver. Share it while it is still warm and watch people close their eyes on the first bite.
Recipe FAQs
- → What makes focaccia different from regular bread?
-
Focaccia is an Italian flatbread distinguished by its high olive oil content, which creates a moist crumb and crispy exterior. The dough is pressed into a sheet pan and dimpled with fingertips to create those characteristic pockets that trap oil and herbs. Unlike standard bread, it's meant to be eaten flat and often served as an appetizer or accompaniment rather than as a main staple.
- → How do I get the perfect dimpled texture?
-
After pressing the dough into your oiled pan, use your fingertips to firmly press deep indentations all over the surface. These dimples not only create focaccia's signature appearance but also collect pools of olive oil, herbs, and salt. Don't be shy with the pressure—the dough will spring back beautifully during baking, leaving behind those beloved crispy, flavorful wells.
- → Can I make focaccia dough ahead of time?
-
Absolutely. After the first rise, you can punch down the dough and refrigerate it for up to 24 hours. The cold fermentation actually develops more complex flavors. When ready to bake, let the dough come to room temperature for about 30 minutes before pressing it into the pan and proceeding with the second rise. This makes it perfect for dinner party planning.
- → What toppings work best on focaccia?
-
While the classic combination of rosemary, sea salt, and olive oil is timeless, focaccia welcomes endless variations. Try adding pitted Kalamata olives, cherry tomato halves, thinly sliced red onion, or sun-dried tomatoes before baking. Fresh herbs like thyme, oregano, or sage work beautifully. For a savory twist, sprinkle with grated Parmesan or garlic powder.
- → Why is my focaccia dense instead of airy?
-
Dense focaccia usually results from not allowing enough rising time or overworking the dough. Ensure your yeast is fresh and active—you should see it bubble and foam after 10 minutes in warm water. Don't skip or rush the second rise, which allows the dough to puff up. Also avoid pressing too hard when dimpling; firm but gentle pressure is sufficient.
- → Can I freeze baked focaccia?
-
Yes, baked focaccia freezes wonderfully. Wrap cooled pieces tightly in plastic wrap, then place in a freezer bag for up to 3 months. Thaw at room temperature, then refresh in a 350°F oven for 5-10 minutes to restore the crispy exterior. Alternatively, you can freeze the dough after the first rise; thaw overnight in the refrigerator before proceeding with shaping and baking.