
 Pin It
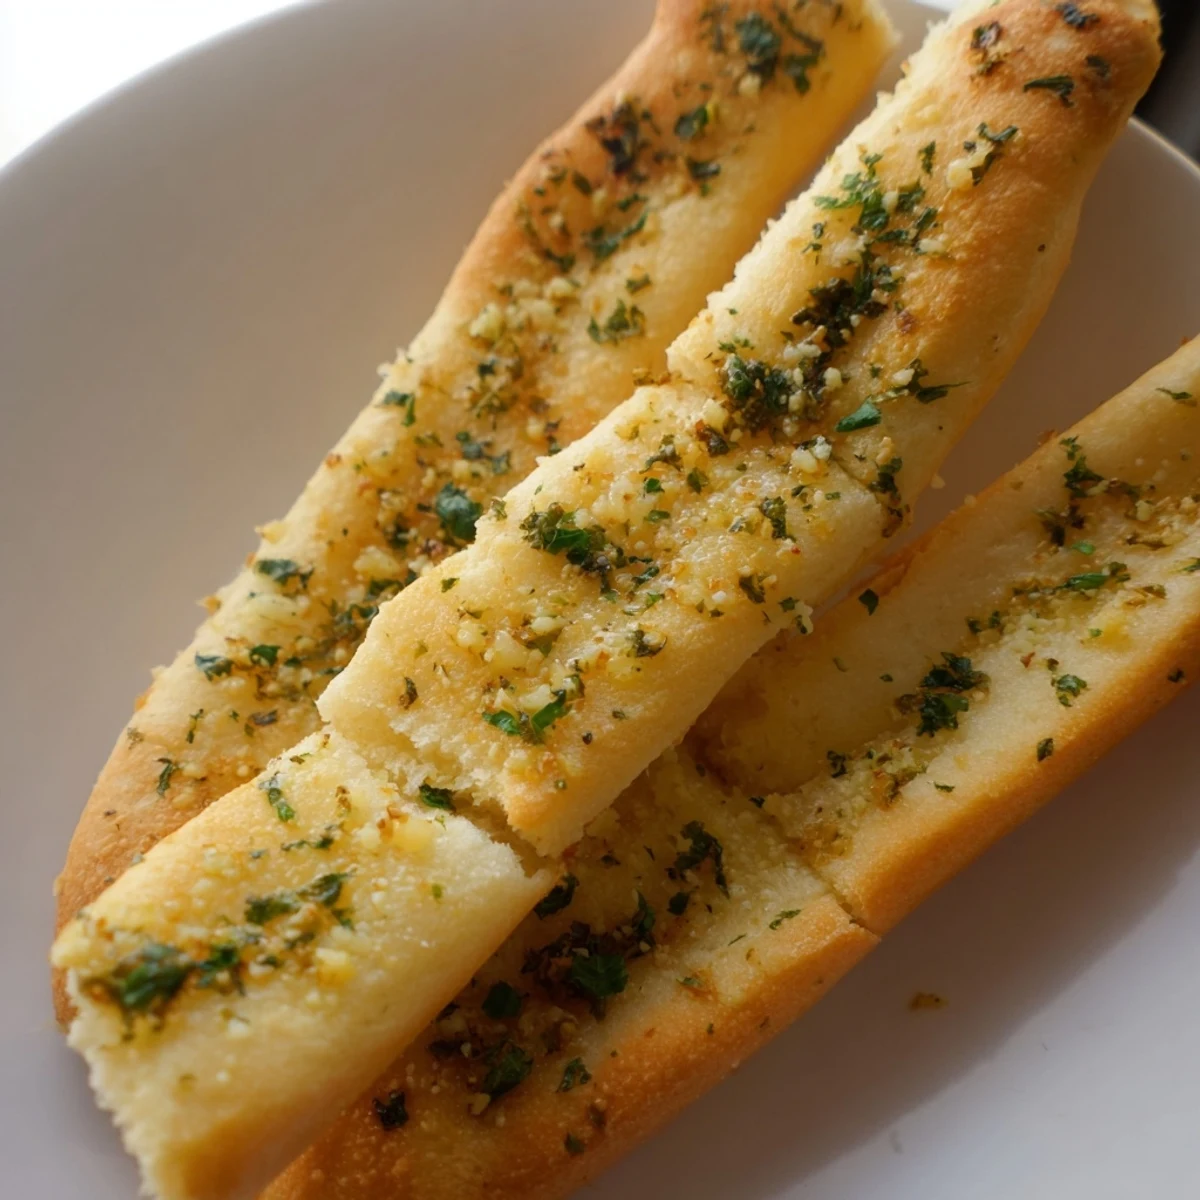
 These homemade breadsticks feature pillowy soft dough with a golden exterior, generously brushed with melted butter infused with fresh garlic and parsley. The yeast-based dough requires just 15 minutes of active preparation before rising to perfection. After baking, the warm breadsticks receive a final coating of aromatic garlic butter, creating that irresistible restaurant-quality finish.
The result is twelve evenly sized breadsticks with tender interiors and lightly crisp edges. They emerge from the oven beautifully golden, ready to serve alongside your favorite Italian dishes, dunk into marinara sauce, or enjoy as a satisfying snack on their own.
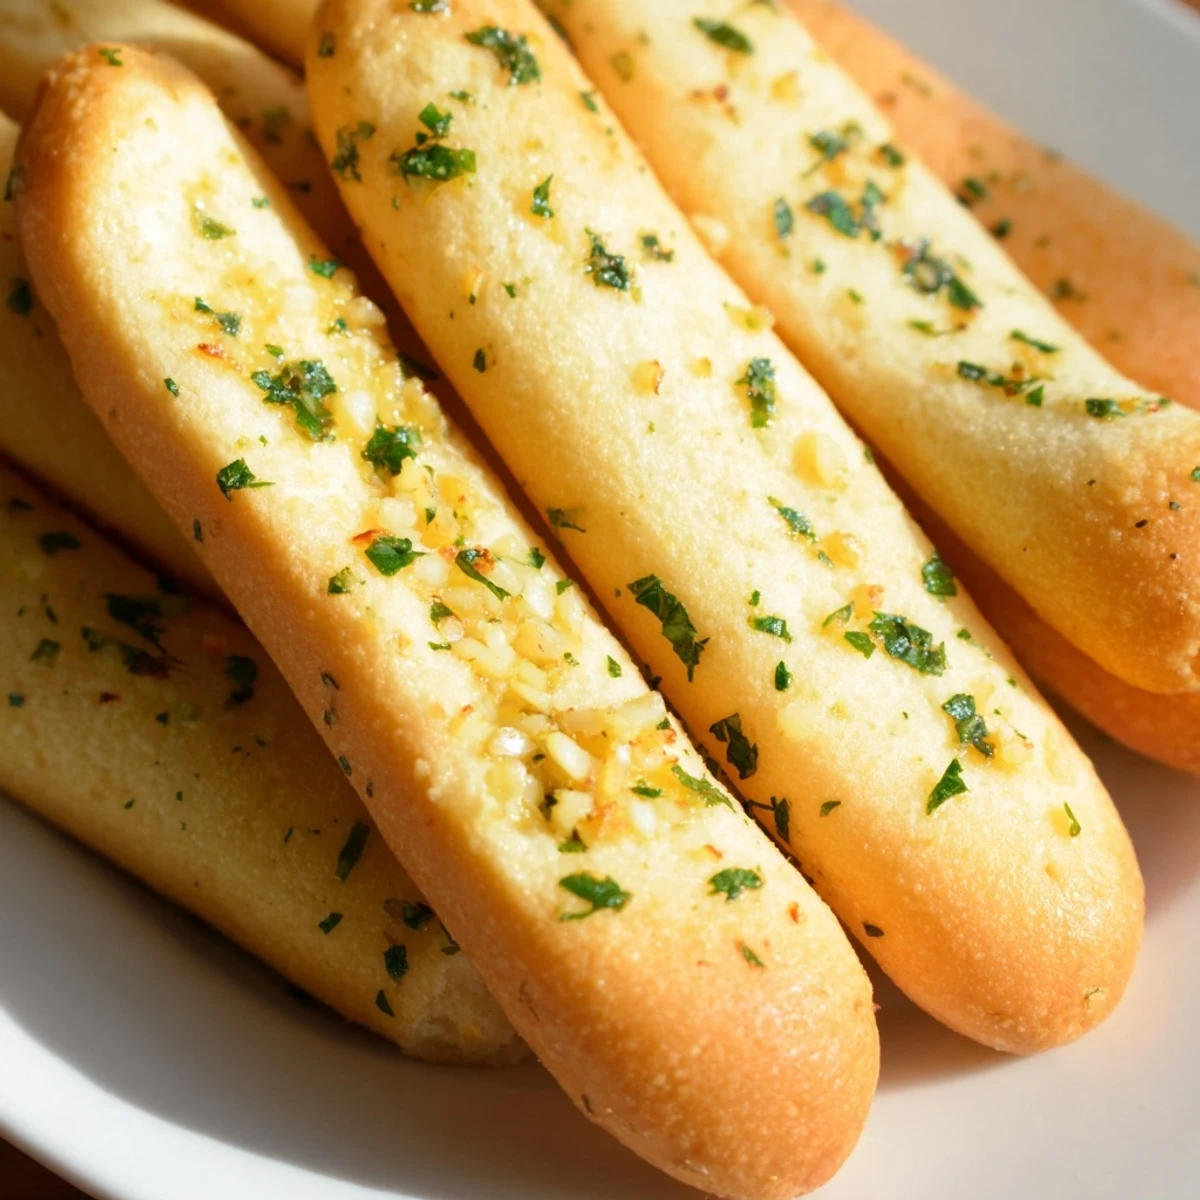
The smell of garlic butter hitting fresh baked bread is the kind of thing that makes everyone wander into the kitchen asking if dinner is ready yet. These soft, fluffy breadsticks are straight up comfort food, the kind of recipe that started as a side dish and quickly became the main event at my table. They are golden, pillowy, and brushed with a garlic herb butter that soaks into every warm crevice.
One rainy Saturday my niece sat on the kitchen counter and declared herself the official breadstick taste tester, eating three before they even made it to the table.
Ingredients
- All-purpose flour (2 cups, 250 g): Gives the breadsticks their soft, tender crumb without making them too dense.
- Warm water (1 cup, 120 ml): Should feel like a warm bath, not hot, to wake up the yeast without killing it.
- Instant yeast (1.5 tsp, 5 g): The magic behind the rise, make sure yours is fresh and not expired.
- Sugar (1 tsp, 5 g): Just enough to feed the yeast and help with browning.
- Salt (0.75 tsp, 4 g): Essential for flavor, do not skip it even though it seems like a small amount.
- Unalted butter, softened (2 tbsp, 28 g) for dough: Adds richness and keeps the breadsticks tender inside.
- Unsalted butter, melted (3 tbsp, 42 g) for garlic butter: The carrier for all that garlicky goodness on top.
- Garlic, finely minced (2 cloves): Fresh garlic makes a huge difference here, please do not use the jarred kind.
- Fresh parsley, finely chopped (1 tbsp, optional): Adds a bright pop of color and freshness that balances the butter.
- Salt (0.5 tsp for garlic butter): Brings all the flavors together in the finishing brush.
Instructions
- Wake up the yeast:
- Combine the warm water, sugar, and yeast in a large bowl and let it sit for about 5 minutes until it gets nice and foamy on top. If nothing happens, your yeast might be dead and you should start over with a fresh packet.
- Build the dough:
- Add the flour, salt, and softened butter to the yeasty water and mix until everything comes together into a shaggy dough.
- Knead until smooth:
- Turn the dough out onto a lightly floured surface and knead by hand for 7 to 8 minutes until it feels smooth and springs back when you poke it gently with your finger.
- Let it rise:
- Place the dough in a lightly greased bowl, cover it with a towel, and let it hang out in a warm spot for about 1 hour until it has puffed up and doubled in size.
- Shape the breadsticks:
- Punch the dough down gently, divide it into 12 equal pieces, and roll each one into a rope about 7 to 8 inches long. Arrange them on a parchment lined baking sheet with a little space between each one.
- Second rise:
- Cover the shaped breadsticks loosely with a kitchen towel and let them rest for another 20 to 30 minutes until they look puffy and relaxed.
- Bake to golden perfection:
- Pop them into a 400 degree Fahrenheit oven for 12 to 15 minutes until the tops are lightly golden and the bottoms sound slightly hollow when tapped.
- Garlic butter finish:
- While the breadsticks bake, stir together the melted butter, minced garlic, salt, and parsley, then brush it generously over the hot breadsticks the moment they come out of the oven so it melts right in.
 Pin It
 There is something about a basket of warm garlic breadsticks that turns an ordinary weeknight dinner into something that feels like a genuine occasion.
Getting the Best Texture
The secret to that soft, pull apart interior is not overworking the dough during kneading. You want smooth and elastic, not tight and tough, so stop kneading the moment it feels satiny under your hands.
Mixing Up the Flavors
Sprinkling grated Parmesan over the breadsticks before baking adds a salty, crispy crust that is completely irresistible. You can also swap the parsley for basil or oregano depending on what you are serving them with.
What to Serve With Breadsticks
These breadsticks were practically made for dunking into a bowl of marinara sauce, but they are equally wonderful alongside a hearty soup or a simple green salad. They are best eaten the day they are made, but a quick warm up in the oven the next day brings them back to life nicely.
- Pair with marinara sauce for the classic restaurant experience at home.
- Serve alongside a bowl of minestrone or tomato soup for a cozy meal.
- Always eat them warm because that is when the garlic butter truly shines.
 Pin It
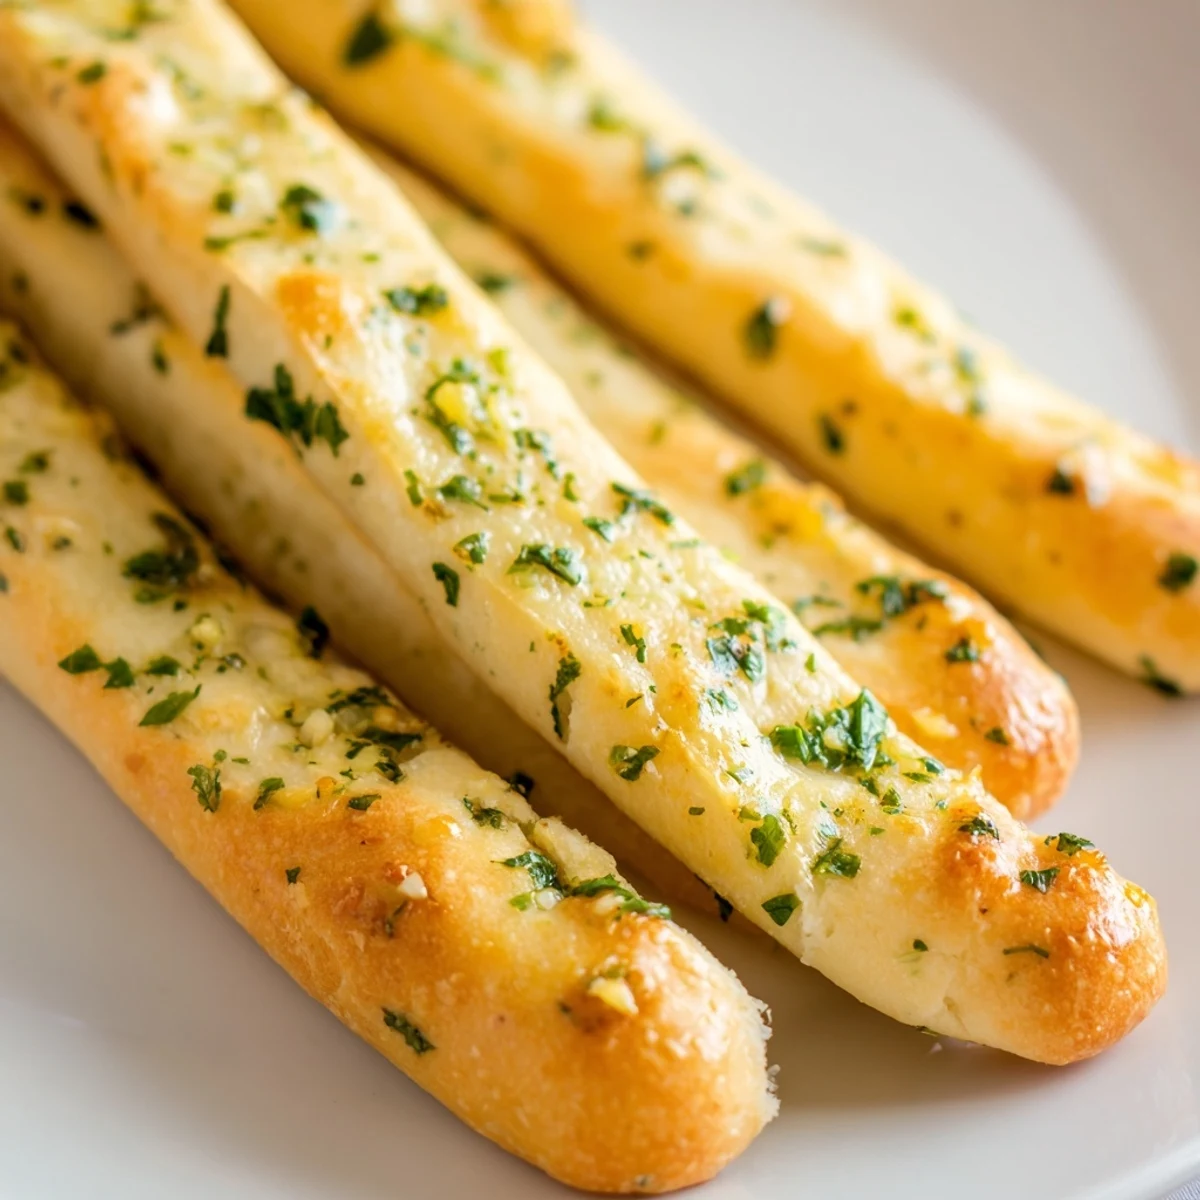
 Once you have made these once, they will become a regular in your kitchen, and honestly, nobody is going to complain about that.
Recipe FAQs
- → How long do these breadsticks stay fresh?
-
These breadsticks are best enjoyed the same day they're made, ideally within a few hours of baking while still warm. If needed, store in an airtight container at room temperature for up to 1 day. Reheat in a 350°F oven for 5 minutes to restore crispiness.
- → Can I prepare the dough ahead of time?
-
Yes, the dough can be prepared and refrigerated after the first rise for up to 24 hours. Let it come to room temperature for about 30 minutes before rolling and baking. You can also freeze shaped, unrisen breadsticks—thaw overnight in the refrigerator, then let rise until doubled before baking.
- → What herbs work best in the garlic butter?
-
Fresh parsley adds classic flavor and vibrant color. Basil delivers sweet, aromatic notes perfect for Italian dishes. Oregano provides earthy depth, while rosemary offers piney undertones. Dried Italian seasoning blend works in a pinch—use about half the amount since dried herbs are more concentrated.
- → How do I know when the dough has risen enough?
-
Look for the dough to double in size, which typically takes about 1 hour in a warm, draft-free spot. Gently press two fingers into the dough—if the indentation remains, it's ready. Over-risen dough may collapse during baking, while under-risen dough will be dense and heavy.
- → Can I make these without a stand mixer?
-
Absolutely. Kneading by hand for 7–8 minutes develops the gluten structure needed for soft, chewy breadsticks. The dough is ready when it feels smooth, elastic, and springs back when lightly pressed. Lightly flour your work surface to prevent sticking, but avoid adding too much flour which can make the breadsticks tough.
- → What pairs well with these breadsticks?
-
These breadsticks complement tomato-based soups, minestrone, or creamy bisques. Serve alongside Caesar salad, antipasto platters, or as an appetizer before pasta dishes. Warm marinara, Alfredo sauce, or garlic aioli make excellent dipping sauces. They're also perfect for mopping up extra sauce from chicken parmesan or lasagna.